Tuesday, July 5, 2016

Guided Reading and How I Use It

Guided Reading is an essential component of Balanced Literacy. This allows you to get up close and personal with your young readers. I always enjoy my time with my students during guided reading, it really helps me tune in to their needs, struggles and successes. And, they LOVE to read to me at my table! 
In my first grade classroom, I have 5 reading groups. My reading groups are color names: Turquoise, Magenta, Tangarine, Violet and Jade. This way the students don't really recognize who is the low and who is the high reading group. They're all colorful! 
Here is a picture of my guided reading baskets: 


5 Baskets for 5 Different Reading Groups 
I got these baskets at Wal-Mart and I made the name labels to match their color. I meet with 2 groups on Monday, Wednesday and Friday, and 3 groups on Tuesday and Thursday. This includes my literature circle who meets on their own. I spend about 15 minutes with each group. This is during my Reader's Workshop time while the rest of the class is working quietly on schema notebook so I have a quiet environment. I also have music playing quietly in the background with my bird contest going on. 
I have two different lesson plans that I use for guided reading. Here is the one I use for 3 days a week:


Lesson Plan for 3 Days a Week 

Here is the lesson plan that I use for 2 days a week: 


Lesson Plan for 2 Days a Week
During my guided reading groups, I teach my students "Fix-Up" Strategies to use when they come to a word they don't know. I use this teacher poster below. I have it laminated and handy in my teacher binder. I show the students this list of strategies and we do hand motions for each one. The students HAVE to tell me which strategy they are going to try before we start reading. Their challenge is to try that strategy that they told me when they get to a word they do not know. Here is the teacher template: 


Fix Up Strategies: Teacher Copy
I also made posters to laminate and put up on a bulletin board or word wall. They have real photos of my daughter doing these strategies. 


I also made bookmarks for the students to use during guided reading, independent reading, buddy reading, literature circles, or literacy centers. They can keep this inside their book at all times. You could also have them cut it out and glue it inside their reader's notebook for a resource!
All you need to do is print and laminate!


Student Bookmarks

At the end of the guided reading lesson, my students do word work, schema notebook or comprehension questions. Depending on the level and needs of the group, I decide what they need to do. I have popcycle sticks that I wrote questions on. I have them inside a cup and the students draw a stick and read it out loud. Here are some of my questions:

Who are the characters?
Where was the setting?
Was there a problem?
How was the problem solved?
What was the author's purpose?
Tell the beginning, middle and end.
What was your favorite part and why?
What was the genre? 
I hope you have gotten some great ideas to use for guided reading! If you are interested in checking out my Guided Reading Packet, click below: 

Are You Fixed Up for Guided Reading? Grades K-3

Love, Kara 

                                     Graphics Courtesy Of: 

                                    Kimberly Geswein Fonts 


Monday, July 4, 2016

Birds of a Feather: An Owl Thematic Unit Grades 1-3

Get a jump start on units for the fall! 

Owls That Students Have Made for Home Project
In the fall, I like to teach a thematic unit on owls. During this unit the students learn about the owl life cycle, force and motion, heat, light and sound energy, realistic fiction and fiction stories, the owl food chain, and types of owls and their habitats. They are engaged in many hands-on activities that allow them to experience owls first hand. They LOVE this unit! 
At the beginning of the unit, I send home a letter to the parents telling them about our monthly home project. This home project is to research an owl and make a 3-D model and bring it back on the assigned date. As you can see in the picture above, these are some of my students' owls they have made in the past. I also display them in my theme center if they donate them to the class. Here is the template that I use for my students to research their owl: 

Owl Research Template
The students learn so much from this research and the best part is that they get to spend time with their family at home making it! 


There are many different science investigations that go along with this unit. My favorite one is learning about all different kinds of feathers. I bring in 8 different kinds of feathers from birds I have collected over the years: Turkey, Chicken, Owl, Ostrich, Falcon, Sparrow, Peacock, and Hawk. I put these feathers in a baggie and put a number on them. Here is a picture of my feathers: 

Bird Feather in Baggies... and my daughter holding some! 
I lay these feathers around the classroom in stations. The students travel around the room with their clipboard, pencil and feather template and illustrate the feathers and label them. This gives the students a chance to move around while still investigating.  Here is the template I use for "Birds of a Feather". 

Birds of a Feather Template
Another investigation that I LOVE is investigating Owl Pellets. Each year I order owl pellets and the students pick them apart to see what the owl has eaten. They build the skeleton together and then I hang them in the classroom. Here is a picture of my skeletons from owl pellets.

Skeletons from owl pellets

For our interactive notebooks, I teach a lesson on force and motion. Since owls can fly, this is goes perfectly with this skill. The students practice flapping their arms in the classroom and pretend they are owls. We practice going zig-zag, side to side, up and down, fast and slow. These are all examples of types of motion. Then, the students complete a science fold-able called: How an Owl Moves. They glue it into their science notebook:
Force and Motion Fold-able
Another interactive notebook activity we do is learning about energy. We discuss heat, light and sound and brainstorm ways that people use these types of energy first. Then, to extend our thinking, we brainstorm how the owls use energy. This really gives the students higher level thinking skills. These questions are open ended, so the students may think of not one way the owl uses this type of energy but three or four ways! Here is the template that I use:
How Do Owls Use Energy?

I also do some craftivities with my students. (You know how I LOVE using art in the classroom!) During this unit we learned about fiction and realistic fiction books. We compared two different owl books and made a craftivity. We used a Venn Diagram to compare and then make an owl with labels. Here is a picture of the craftivity:
Craftivity: Comparing Fiction and Realistic Fiction Owl Stories

Another craftivity we do is the owl life cycle. Here we learn about how the owl life cycle is similar or different than our own. I have my students write a sequence of the life cycle to put with it. Here is a picture of my life cycle craftivity: 
Craftivity: Owl Show You the Life Cycle 

My favorite part about this unit, is that the students have an owl book that they can research a different owl each day. I read them a story about a specific owl and we brainstorm facts about the it, then the students can complete their page in their owl book. We talk about where it lives, how it builds its nest, what it eats and if its endangered. Here is the lesson plan that I use for each owl. There are 21 days of lesson plans in my unit.
Lesson Plan 

For the student owl book, there is a cover page, table of contents and owl research pages for:
The Barn Owl
The Snowy Owl
The Elf Owl
The Great Gray Owl
The Northern Hawk Owl
The Barred Owl
The Burrowing Owl
The Spectacled Owl
The Short Eared Owl
The Great Horned Owl

There is also a page at the end for students to illustrate their favorite owl and tell why they like it the best.

Here are some pages of the student book:
Owl Show You About Owls!

If you are interested in checking out more of my owl thematic unit, click below.  I hope you got some great ideas on how to teach owls in your classroom! Have a "Hoot" with this one!
Cover Page of Packet

Birds of a Feather: An Owl Thematic Unit Grades 1-3

Love, Kara

Graphics Courtesy of:

Thursday, June 30, 2016

That's So Corny: A Science Investigation Packet with Indian Corn 

That's So Corny!  Cover Page

If you have been reading my previous posts, you know that I just finished sharing my Science Experiments and Investigations Packet called: Let's Fall Into Science.  Then I decided to pull out some of those experiments and investigations separately to share on Teachers Pay Teachers. 

So, last year I decided to enter a Science Fair Project at my school. We did this as a class and we investigated with Indian Corn. The students really learned a lot about the Scientific Method and about growing corn.

 This is a very easy and engaging science investigation! 
You can teach this mini-unit during your theme of Natural Resources, Life Cycles, or Thanksgiving. I like to teach this min-unit in November when we are learning about Natural Resources and Thanksgiving. It goes perfectly together! 

This packet includes:

3 days of Lesson Plans with Mentor Texts
Corn Life Cycle Vocabulary Cards
Scientific Method Vocabulary Cards
Parts of a Corn Cob Vocabulary Card
Interactive Notebook activities for math and science
Craftivity: Corn in the Cornfield and Expository Writing
Science Investigation Log: That's So Corny!

So, here's how you set this investigation up: First you need Indian Corn, and if you cannot find some, Yellow Corn will do just fine. Just make sure to shuck it first before putting it into the Tupperware.  You also need 3 Tupperware containers filled with different natural resources: sand, soil and water. Here's a picture of my corn in their three different natural resources: 

Corn in Water, Sand and Soil 

How are going to hook your students in? You can set the stage by reading your first book of Corn by: Gail Gibbons. This mentor text is perfect to give an overview of corn before you start. 
You can use this scientific method fold-able for the students to ask their question and hypothesize about the corn. The students can glue this into their science notebook and fill it in as the investigation unfolds. Here is my fold-able. 

Scientific Method Fold-able
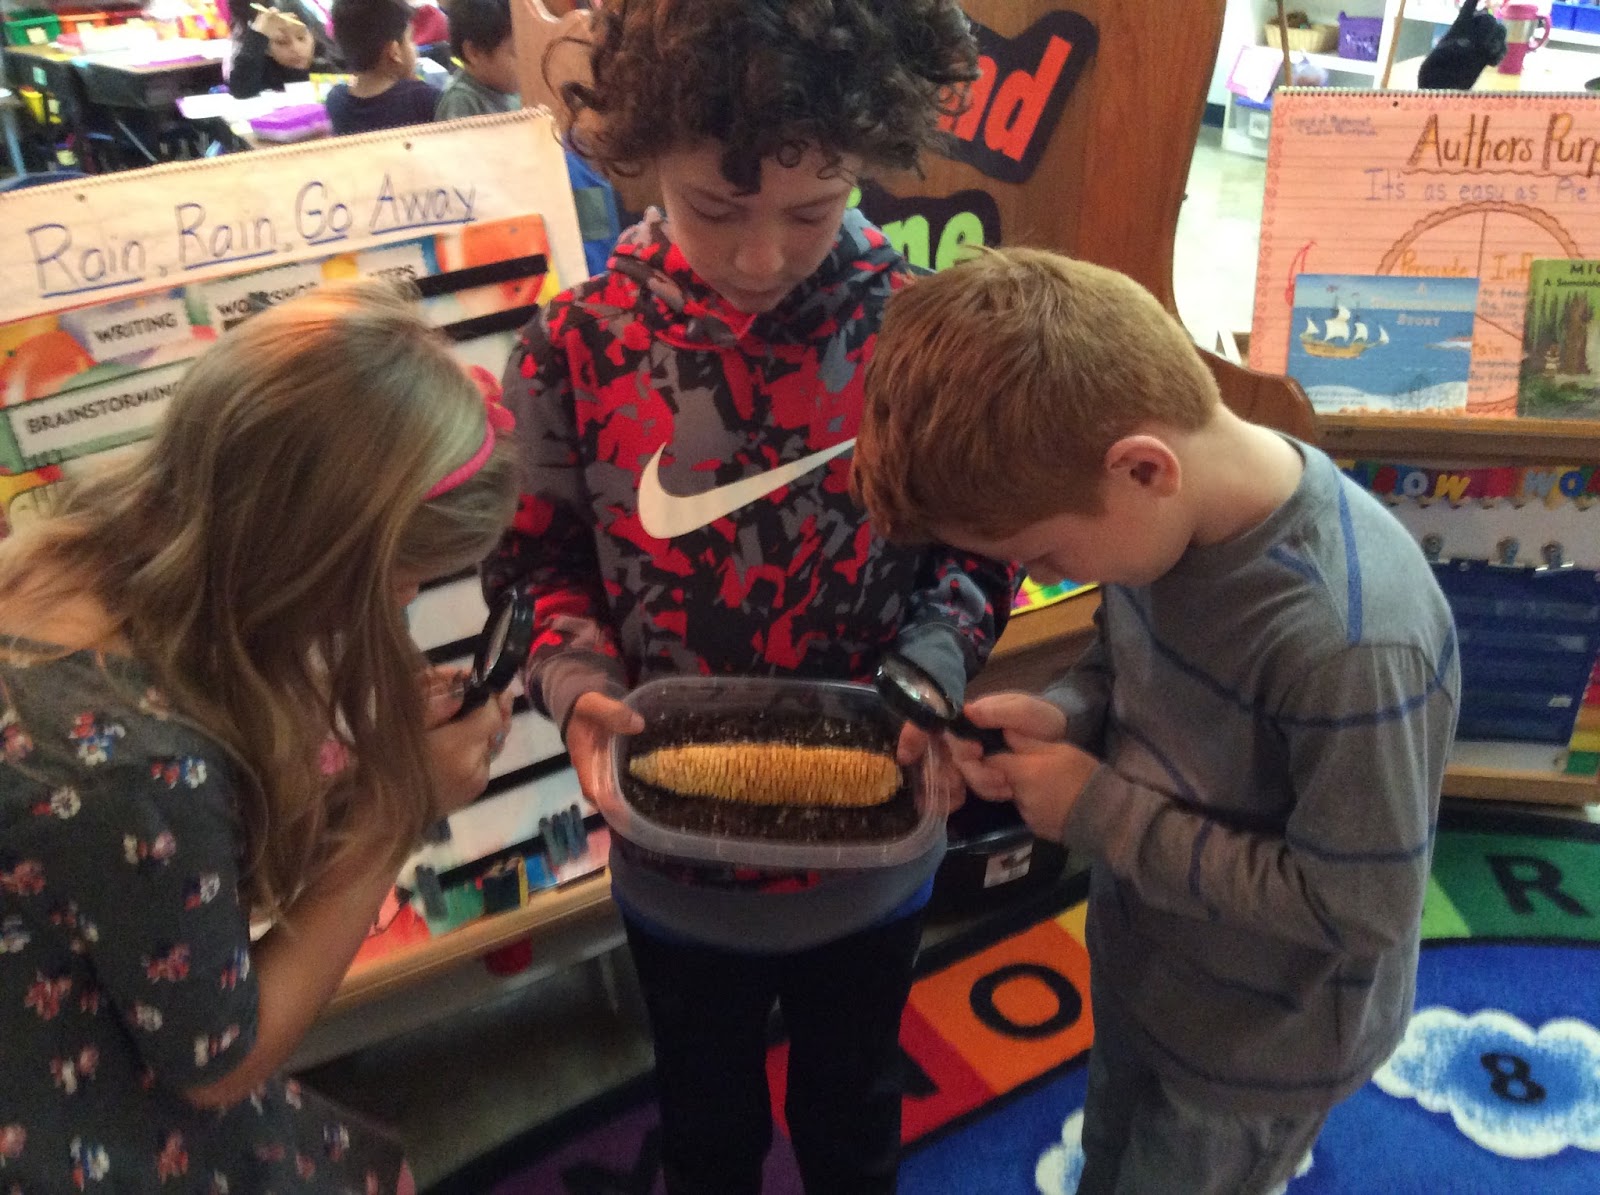
The students will start their investigation by observing the corn with a magnifying glass. You can set up the corn under a lamp, or next to your window on a shelf.  The students will hypothesize if the corn will grow better in the sand, water or soil. It's very interesting to see what they think will happen! Here is the page they can record their hypothesis: 

Hypothesis Page

Here are pictures of my students observing the corn in the different natural resources. They put their thumbs down if they didn't think it will grow, and put their thumbs up if they did think it will grow. They did this by table groups: 

Students Observing Corn

The students observed the corn for 8 days and recorded their data in their corn investigation log. This log also has a page for drawing conclusions at the end. Here is the cover page and one of the inside pages for data:
Cover Page
Data Page Day 1 

Also in the packet, the students can create a craftivity. I LOVE incorporating art with my science and social studies units. The students can write an expository piece all about corn and then make a cornfield using real popcorn!  Here is my craftivity: 

Corn in the Cornfield Craftivity 

Student Making the Craftivity

Students can also learn the parts of a corn cob using this vocabulary card:
Parts of Corn

In their science notebook, students can label the parts of corn, color, cut it out and glue it in.
Label the Parts of Corn

I hope you got some helpful ideas about growing Indian Corn in your classroom. If you are ever in a panic and need an easy, engaging science investigation for the science fair at your school, I definitely recommend this one! It is so much fun and the students LOVED it!
If you are interested in my packet, click below:

That's So Corny! An Investigation Using Indian Corn Grades 1-3

Love, Kara

Graphics Courtesy of:


Tuesday, June 28, 2016

Let's Fall Into Science: Experiments and Investigations for the Fall 
Grades 1-3

Cover Page of Packet


I'm very excited about my new product! I have to admit, it took me a long time to write it, but I LOVE it and I hope you will too. I just wanted to share it with all of you and show you what's all included in this packet on Teachers Pay Teachers. I blogged before about how I do my experiments with mentor texts, anchor charts, and interactive notebooks. And, this packet includes just that and much more!

* Lesson Plans with mentor texts, materials and directions
* Craftivities
* Interactive Notebook activities
* Science Vocabulary Cards
* Edible Experiments and Investigations
* Expository Writing Templates
* Suggested Themes for Each Month

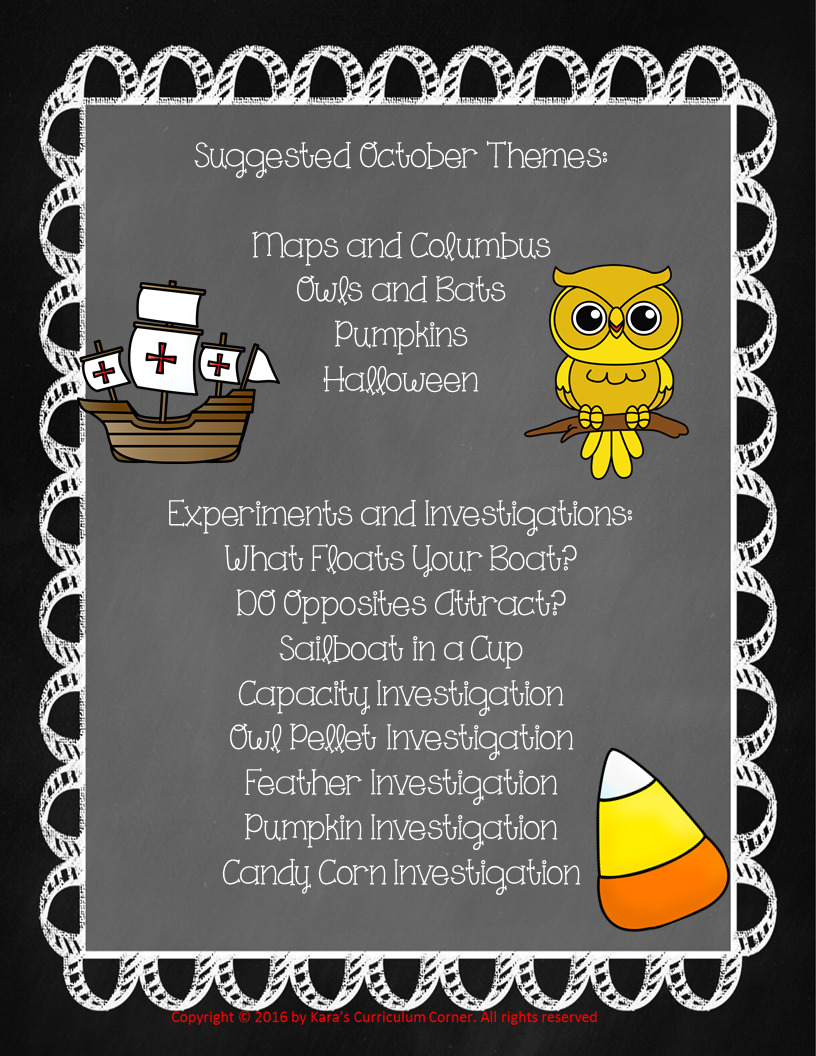
For each month, I give suggested themes, experiments and investigations: 

Suggested Themes and Investigations 

This lets the teacher know what's included for that month. Sometimes when you teach science and social studies, it's difficult to squeeze in the experiments, so I hope this will help. I've done all of these experiments and investigations with my students, so I know they work and my students LOVE them! I do too! 
For each month, I also included lesson plans with mentor texts, materials and directions, and there are two for every lesson.

Lesson Plan with Mentor Text

Materials and Directions for Investigation

I also included the interactive science template that the students will be completing. I included two different templates, so that if you do not have the materials you need for the investigation, then you could use an alternate template that's a little simpler. Some templates are fold-ables, some are cutting out labels, some are rotations with stations, and some are science logs. There's a lot of variety! For each lesson I've included science vocabulary cards to show the students about the topic. Here is the one I made for the parts of a leaf:
Part of a Leaf Vocabulary Card

Here is an example of the interactive notebook activity that goes with this lesson: 

Interactive Notebook Activity
Some of the science investigations involve the students to rotate around the room at different stations.  These kinds of investigations include:  Birds of a Feather, Properties of an Apple, That's so Corny!, Evergreen Trees and Pine Cones.
Here is an example of a template for these kinds of investigations: 


Evergreen Tree Rotation

Some of the investigations are edible... and who doesn't LOVE to eat in the classroom? These are fun, and easy to make too. Here's one that has the Edible Soil in a Cup.
Edible Soil in a Cup
If you want to extend the science experiment even more and have the students write about it using the scientific method, here's the fold-able that you can use for your science notebook. And, you can use this template for EVERY experiment in this packet!!!

Scientific Method Foldable

Or, if you want your students to write an expository piece about what they learned from drawing conclusions, I have writing templates in the packet as well! 

Owl Pellet Expository Writing

And, if you want your students to keep a science log, there are two: One for Weather Investigation and one for the Indian Corn Investigation. Here's the cover page for the corn investigation: "That's So Corny!"
Corn Investigation Science Log

I hope you enjoyed reading about my new product in my store. Maybe you could try it next year with your class too! 
I'm also going to write a science experiment and investigations packet for the spring... so keep watching for that! If you are interested in checking out my packet, click here: 

Let's Fall Into Science: Experiments and Investigations for the Fall Grades 1-3

Love, Kara

Graphics Courtesy of:


Sunday, June 26, 2016

Anchor Charts and How I Use Them

I think anchor charts are one of the most efficient ways to teach a skill. If they are colorful, meaningful and easy to read, the students will always refer back to them if needed. Usually anchor charts are displayed in the classroom somewhere after the skill is taught to reinforce it. I've also seen anchor charts as a literacy center, where the bulletin board is the anchor chart and the students are interacting with it using post-it notes, or a graphic organizer of some kind. The anchor chart gets switched out with every new skill. This is something I want to add to my classroom for next year! 
When teaching with anchor charts I've used them in several ways: 

To Introduce A Skill
Interact With The Students
Review a Skill Already Taught
Extension of a Skill Through Students' Own Work

I have anchor charts for EVERY subject: Reading, Writing, Math, Science and Social Studies.
I bought colored chart paper tablets from Lakeshore last summer and spent the whole summer writing out my anchor charts for each skill that I teach in every subject... it took a LONG time, but it was well worth it. My anchor charts are reusable, meaning that the students use post-it notes to interact with them so I can use them again next year.... this saves me a lot of time! 

At the beginning of the chart tablet, I made a table of contents so if I want an anchor chart about teaching Layers of Soil, I can look at my table of contents and flip to the page immediately! 
This helps so much, especially if I'm in the middle of a lesson and there's a teachable moment. I can flip to a certain anchor chart in lickety-split! I have a chart tablet for each subject. 

If you notice, at the top left hand corner, I write the mentor text that I use to read that goes with this anchor chart... this is so helpful for me when writing my lesson plans! On the right hand side of the chart, I have the page number. 


Synonym Anchor Chart for Reading

After learning a skill on the anchor chart, I extend it with a graphic organizer, game, craftivity or interactive notebook activity. When doing these activities, I keep the anchor chart displayed in the classroom so the students can refer back to them.

This is an example anchor chart I use for social studies:

Landforms

After learning about landforms, my students made a craftivity using glitter, construction paper and labels.

Craftivity: Living on Landforms

If you're interested in checking out my anchor charts for social studies, click here:

1492: Maps and Columbus Thematic Unit Grades 1-3
Example Anchor Charts for Science:
Weather Tools Anchor Chart

As an extension activity, my students colored this graphic organizer and glued into their science notebook. 

Weather Tools Graphic Organizer
 Layers  of Soil Anchor Chart for Science

As an extension activity, my students made a craftivity about what's in the soil using different colored construction paper and then made a list of things in the soil.
Craftivity: What's In Soil?

If you're interested in checking out my anchor charts for science, click here:

Rockin' Inside the Earth: Rocks and Soil Thematic Unit Grades 1-3

It's Raining Cats and Dogs! A Weather Thematic Unit Grades 1-3

Anchor Charts for Math:

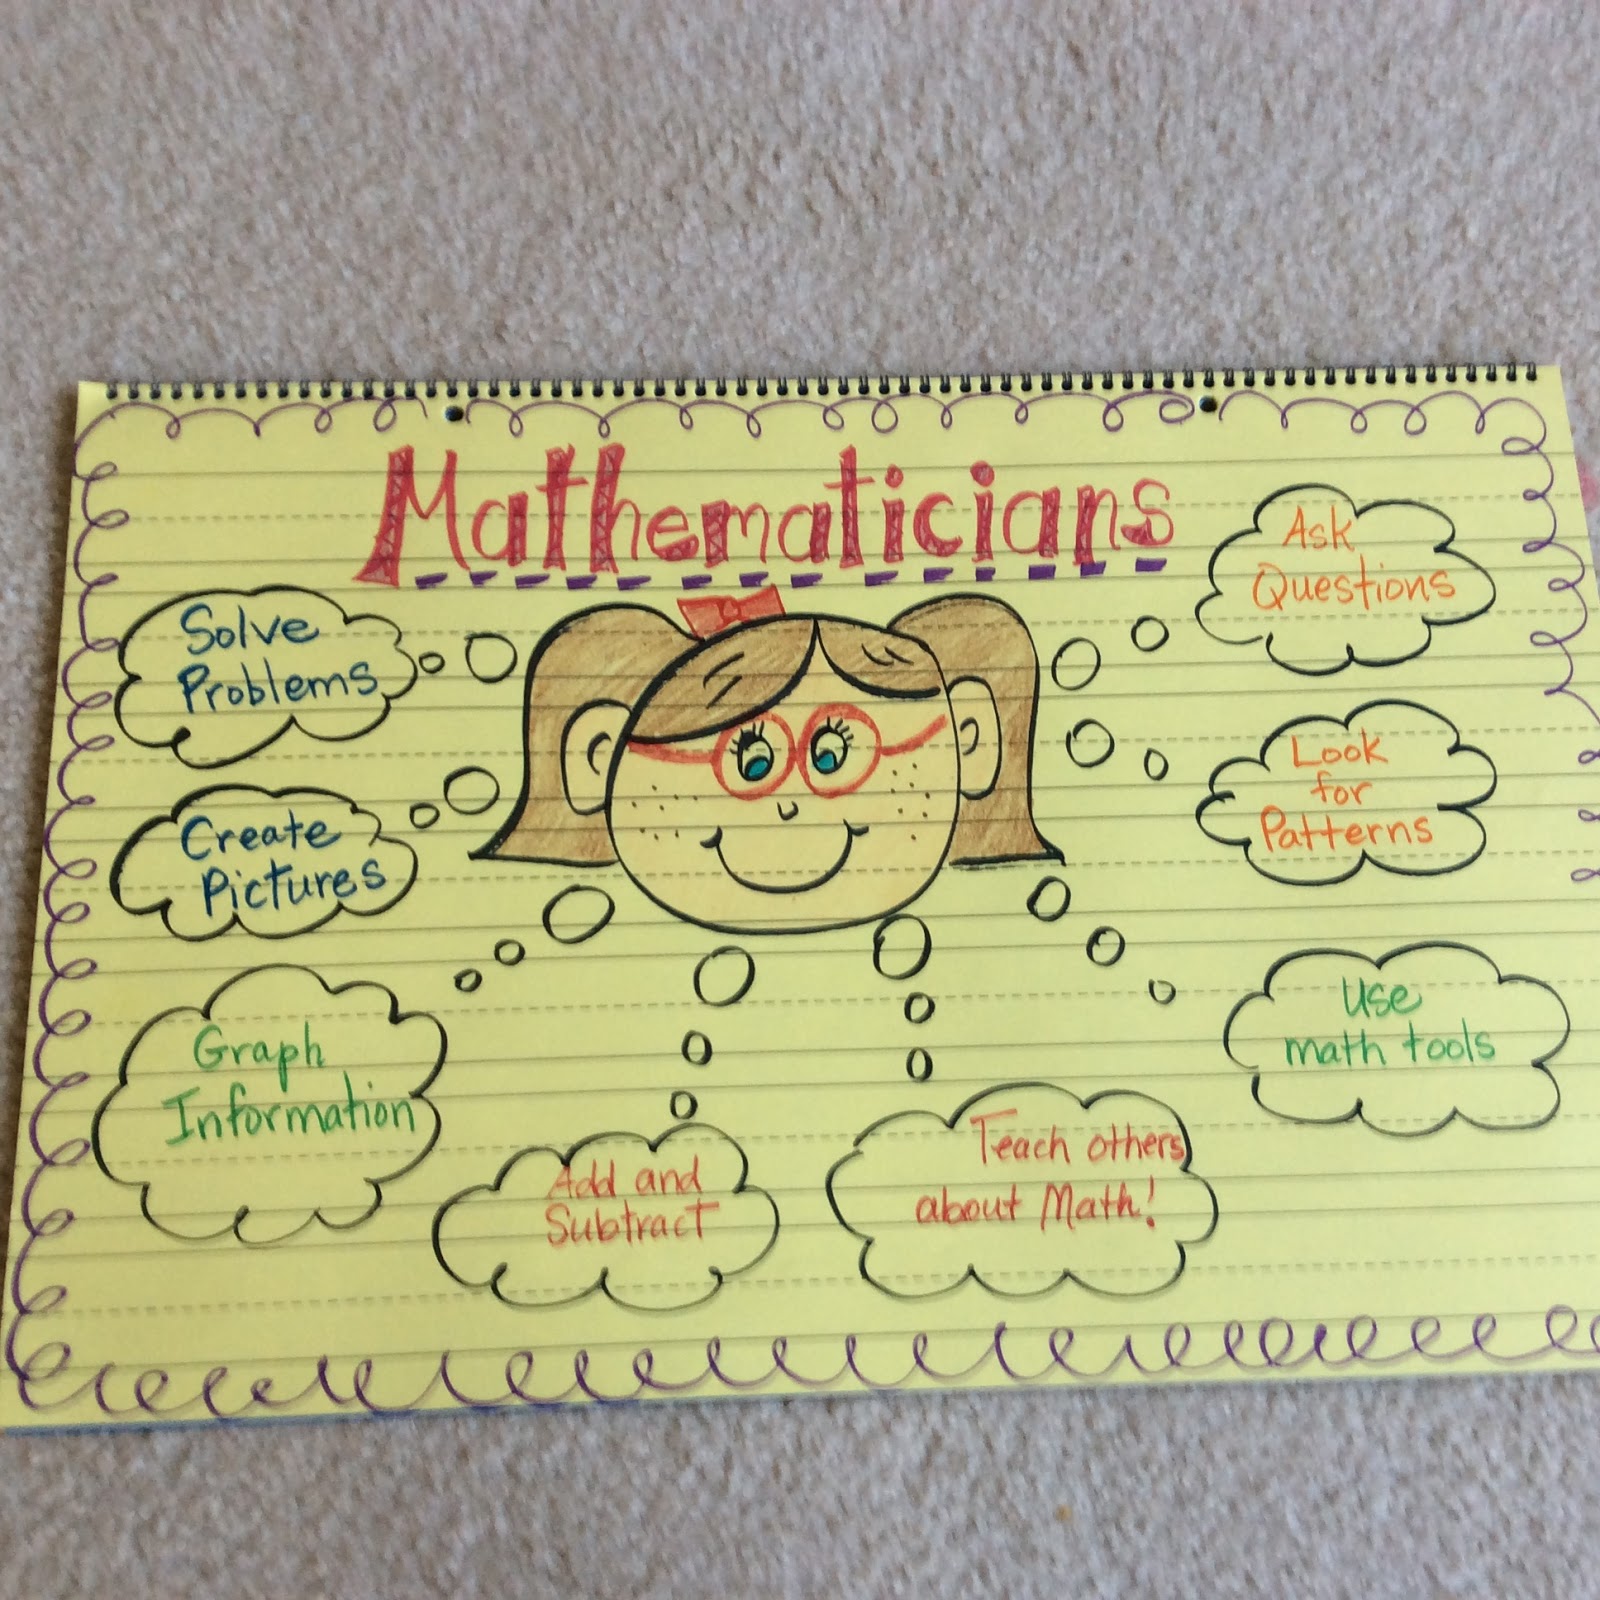
Mathematician Anchor Chart

As an extension activity, my student learned how to play the game BUMP using dice and this game template. I laminated it so we can reuse it every year. I have all of these templates for every month!

BUMP Math Game for October
Click on this link if you want to see more of my BUMP games:

BUMP Games for Every Month and Season


Graphing Anchor Chart for Math

As an extension activity, we graphed our transportation: 

Transportation Graph

If you're interested in checking out more anchor charts and graphing for math, click here:

All About Me: A Back to School Thematic Unit Grades 1-3

Example Anchor Charts for Writing:

Write From the Heart Anchor Chart for Writing

As an extension activity, my students made a heart puzzle of different topics they can write about in their schema notebook:

Write From Your Heart Graphic Organizer
Anchor Chart for Labeling in Writing

As an extension activity, my students practiced labeling different parts of animals: 
Label the Sloth

If your interested in checking out more of my anchor charts for Writing, click here:

Just Write From Your Heart: Writer's Workshop Mini-lessons Grades 1-3

Rainforest Research: Thematic Unit Grades 1-3

Example Anchor Charts for Reading: 

Antonym Anchor Chart for Reading

As an extension activity, my students wrote antonyms inside their cupcakes and cut it out for their schema notebook:

Appetizing Antonyms Graphic Organizer
Cause and Effect Anchor Chart for Reading

As an extension activity, we read the Rainbow Fish and my students completed a graphic organizer for their schema notebook.

Rainbow Fish Cause and Effect

If you're interested in checking out my anchor charts for Reading, click here:

Are You a Bookworm? Reader's Workshop Mini-lessons Grades 1-3

Sometimes, I use anchor charts to link literature together, this includes an interactive anchor chart the the students can use post-it notes to interact with. Here's an example:

Rosie's Walk Interactive Anchor Chart

While the students are sitting on the carpet and watching someone come up to the anchor chart to complete the sentence, they are writing their prepositions on their template:

Rosie's Walk Around the Farm

If you're interested in checking out my Rosie's Walk Linking Literature click here:

Linking Literature with Rosie's Walk

I hope you got some great examples of how to use anchor charts in your classroom! If you haven't used them yet... your students will LOVE them!

Love, Kara

Graphics Courtesy of:

www.theclipartstand.com
Glitter Meets Glue Designs