Sunday, July 30, 2017

My First Week of School: Tips and Tricks


A lot of teachers are unsure about what to do the first week of school. It can be a scary thing...even to veteran teachers. As standards, parents, expectations, and students change from year to year, it can be nerve wracking to the point that you are so anxious the night before you can't sleep! In my experience I feel a lot better knowing that my classroom is ready, my lesson plans are ready, my activities are copied and ready to go, because the last thing you want on the first week of school is to still be decorating, copying and running around crazy because you don't have everything finished! 

In this blog post I'm going to share with you some of my mentor texts, anchor charts, craftivities, interactive notebooks, science investigations and graphing activities that I do during the first week. Maybe this post will help you get some ideas so you're not so anxious...well, maybe just a little! LOL

FIRST DAY of SCHOOL:
Set the stage for the entire year. The second the students walk in, greet them with a hug or a hand shake. Smile and be excited! Even though you're nervous, try not to show it. The parents are nervous too! You're going to have their child for many, many hours this year and they want to be re-assured that you are the best fit for their child.

On my student's desks I have a blank piece of white construction paper, a small tub of play-do and their name tag. I tell the students to build something that resembles an activity or vacation they experienced over the summer. After they build their object, then they are going to color a picture using 8 crayons. I tell them this because it helps to give them a longer task to work on so I can meet and greet parents and students who are coming in late. This activity takes a good 20 minutes. Its just enough time for me to get everyone in, take pictures, greet parents and take everyone to their desk.  Here is a pic of my desks on the first day of school: 


I make a power point of all my classroom rules, procedures and expectations. I sit all the students on the carpet and we go over all the rules. This might take 2-3 sittings, but it is so worth it. I put pictures on my power point of my class from last year so they can see what it looks like.  We practice these routines:

1.) Sitting on the carpet: criss-cross applesauce
2.) Sitting in our desks: with tummies up
3.) Putting our backpack on our chair with both straps down
4.) Exchanging pencils from the pencil pails
5.) Raising our hand to speak and not blurting out
6.) Mr. Clicker Attention Getter: the students all look at me when I click Mr. Clicker- so they freeze and stop talking. We practice this about 100 times the first week! 


7.) Counting down from 10: all tummies are pushed in and the students have their thumbs up ready to listen. 
8.) Organizing their community tubs and what's inside of them.
9.) Using the restroom and flushing and washing our hands.
10.) Pushing our chairs in when we get up.
11.) Walking quietly to line up, with our wings and bubbles.
12.) Walking in the hallway quietly for secret walker.
13.) Earning bonus bucks for the treasure box.
14.) Saying "Thank you" when called on.
15.) Bird Contest: what is looks like and sounds like


If you're interested in reading about my Behavior Management Tips and Tricks, click here.

Or, if you're interested in seeing my Behavior Management resource, click here.

These are just a few of the rules and procedures we discuss. Now, on to the academic and fun part! I think it would be easier for me to show you activities, mentor texts and craftivities for each subject. Let's start with reading! 

                                  Reading Mentor Texts: 


I like doing a Kevin Henkes Author Study at the beginning of the year. I have his picture and photos of books on my Author Study center. In the colored bins I have all of his books and book buddies.


If you're interested in checking out some of my Kevin Henkes linking literature resources, click here for Lilly's Purple Plastic Purse, and click here for Chrysanthemum. 
If you're interested in checking out my Kevin Henkes Author Study resource, click here

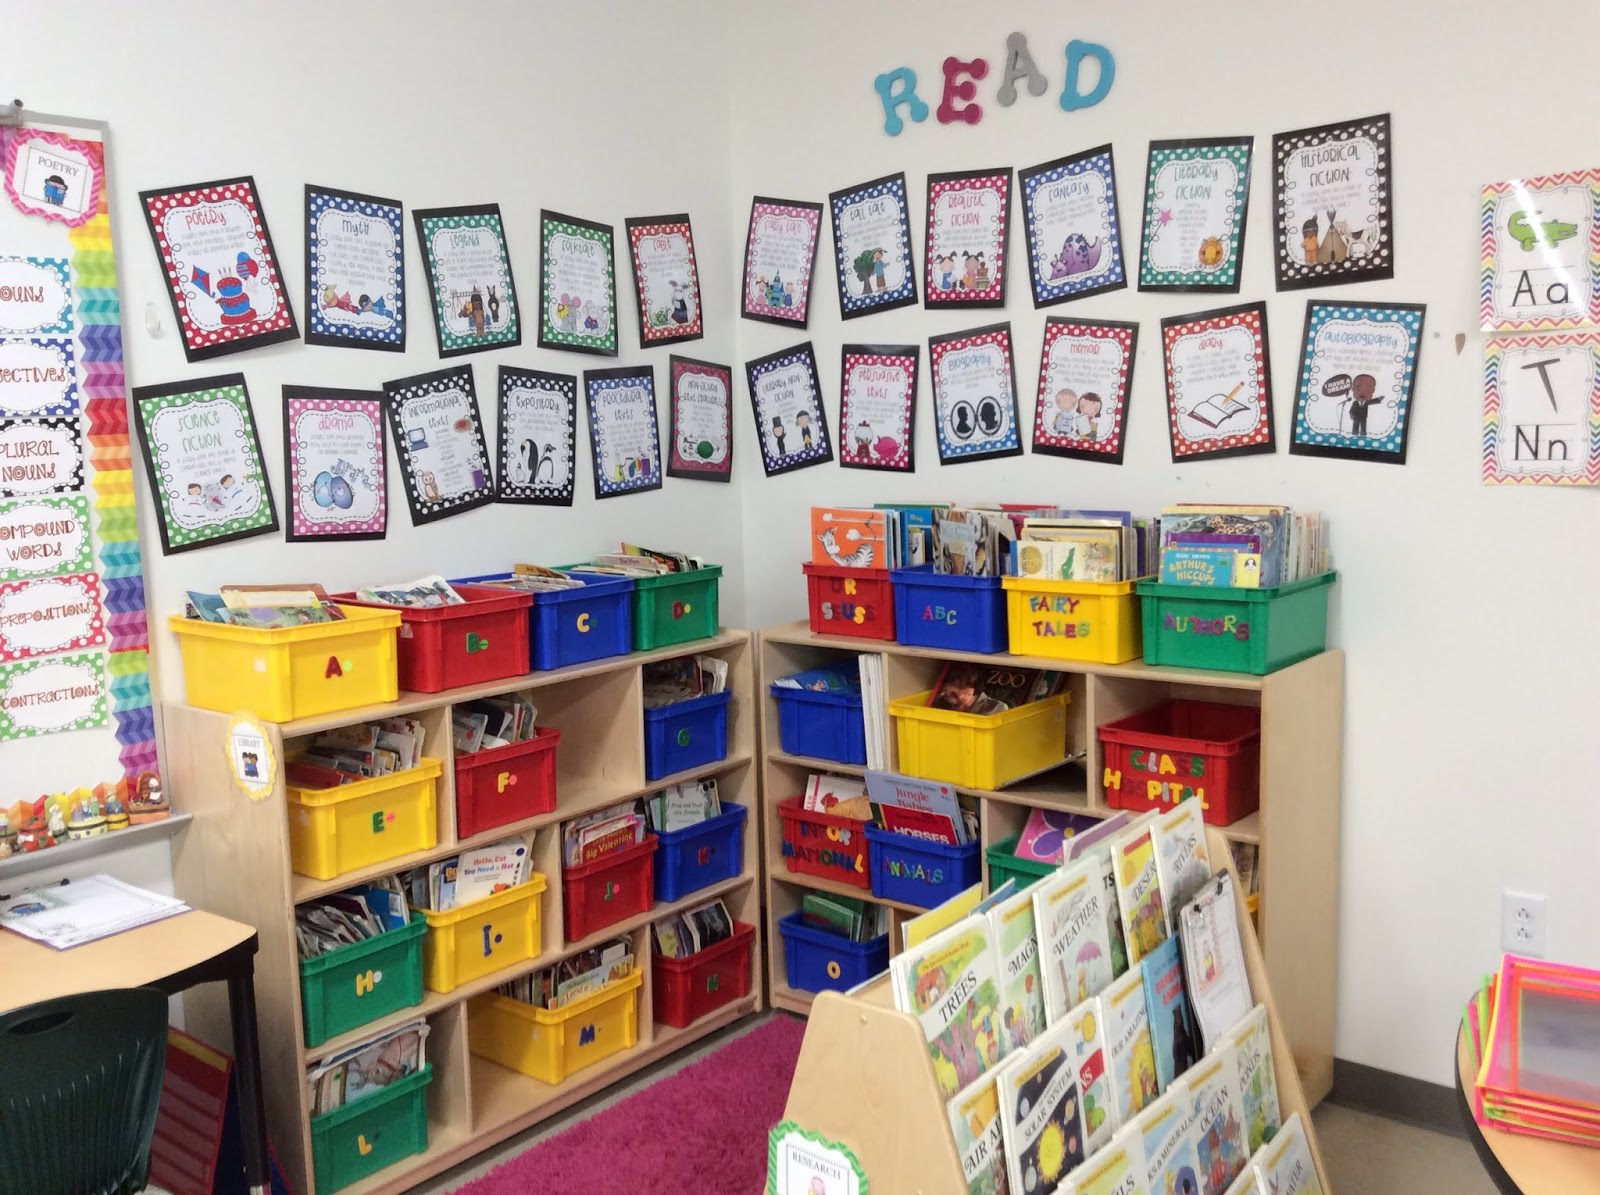
Here are some anchor charts that I use for reading: 


I Can't with The Little Engine That Could

How to Treat Books with Reading Makes You Feel Good

What is Schema with Word Wizard


Text to Self Connection with The Kissing Hand

If you're interested in checking out my Reader's Workshop resource, click here

Here are some interactive notebooks that I do for reading. I have a schema notebook that we use for reading/writing. This was done on the first day of school.


Schema Notebook with The Kissing Hand

Here are some craftivities that we do the first week for reading: 


Chester's Heart from The Kissing Hand
If you're interested in checking out my linking literature resource for The Kissing Hand, click here.
Learning Our Initials with The Letters Are Lost

Writing Mentor Texts:


Here are some anchor charts I use for Writing: 

Write From the Heart with Harold and the Purple Crayon
Using Dictionaries with Ralph Tells a Story
Using Finger Spaces with The Best Story Ever

Interactive Notebooks for Writing:

Write From Your Heart Interactive Notebook Activity
I have my students glue my anchor chart on the left side of the notebook and their activity on the right side.

If you're interested in checking out my Writer's Workshop resource, click here


Focus Poetry Interactive Notebook: Special Me

I have a poetry center and this is where I post the poem of the week. We sit on the floor together and discuss the rhyming words. I have vocabulary cards stapled all around the poem for parts of speech and punctuation. Then, my students get their poem, cut it out and glue it on the left side of their notebook and illustrate a picture on the right side. They will also highlight all the rhyming words in the poem. Here is a picture of my Poetry Center:


If you're interested in checking out my Focus Poems for every month and holiday, click here.


Math Mentor Texts: 


Math Anchor Charts:

What is a Mathematician with Chicka Chicka 123
Using Number Lines With Each Orange Had 8 Slices

Graphing Names, M&Ms and Buttons with:
Chrysanthemum, M&M Counting Book and Pete The Cat and His Groovy Buttons

All About Me Graphing: Eyes, Hair and Names
Interactive Notebooks for Math: 
Graphing Transportation, Eyes, Fingerprints, and Names

If you're interested in checking out my Graphing Unit for Math, click here.

All About Me Mentor Texts:

All About Me Craftivities:

My Family Tree Craftivity with Me and My Family Tree
If you're interested in my Family Tree Craftivity, click here
How Do You Feel Today? With How Are You Peeling
A Rainbow Of My Own: the students glue adjectives on the colored strips describing themselves. I write their name on the cloud and then they glue rainbow colored yarn on top of their name.
If you're interested in my Rainbow Craftivity, click 
here 
All About Me Books with What I Like About Me!

If you're interested in checking out my All About Me Thematic Unit, click here.

Science Experiment: 

Scientific Method Vocabulary Cards

Science Experiment: The Flower

The Flower Experiment
This experiment will excite your students on the first day of school! Simply cut out a white flower (don't color it) and fold up the petals. Then have your students predict what will happen to the flower? Will it sink? Float? Will it collapse? Show your students the scientific method vocabulary cards and model a hypothesis. Then place the flower inside a bowl of water still folded up and watch the magic happen! The petals will unfold and turn into an open flower! Your students will get so excited about science that they will want to do more! I also send home a flower for my students to experiment and teach their parents. They LOVE this! 
Scientific Method Interactive Notebook Foldable:
If you're interested in checking out my Science Investigations resource for the whole year, click here.

And there you have it! I know it seems like a lot, but you know what they say...its better to plan too much than to plan too little. I hope you got some great ideas for the first week of school and I hope everyone has a fantastic school year! Please comment below and follow my blog!
Love, Kara 


Tuesday, July 25, 2017

Launching Literacy Centers in the K-2 Classroom


Having literacy centers in your classroom is a wonderful and exciting thing! This is an easy way to spiral skills that you've already taught in your lessons and continue a love of learning through all the subjects. First, you need to see the layout of your classroom to see where you want to put your centers and how many you'd like to have. I like to draw a map of my room and decide where my centers will go. This will give me a good start. 
I also recommend you read Debbie Diller's book: Literacy Work Stations. 
                                                           
She has a lot of great ideas about how to organize your centers and center icons you can use.  It's an easy read with a lot of fabulous information.

I have 24 centers in my classroom: Library, Research, Finger Puppets, Drama, Writing, Author Study, Word Work, Science, Museum, Theme, Construction, Games, Word Wall, Calendar, Felt Board, Math, Read the Room, Write the Room and Poetry, Computer, Listening, Geography, Big Books and Overhead. Here is my center rotation board: 

Here are my center icons for your rotation board.  The small icons are for your rotation board and the large icons are for your actual centers. If you would like to see a video of my center icons, click here


If you do not have the space for ALL of these centers, I recommend that you have the basic ones to start out with that are most important: Library, Word Work, Writing, Listening, Math, Science and Big Books.  Some classrooms are smaller than others, so if this is the case, you can always have centers that your students can take to their desks and play. I've done that before with smaller spaces. It works just as well! You could put your centers in tubs or in baggies.

So, how do you introduce all of these centers efficiently? ONE DAY AT A TIME! I've learned over the years to really MODEL, MODEL, MODEL and take your time introducing the centers. It will pay off in the long run and your classroom will run more smoothly and you will be a more happy teacher!!!! 

Starting the first week of school I introduce one center at a time, one day at a time. I have my students sit near the center on the floor with their clipboards, center templates and pencil. We talk about whispering, how to sit, what to do and what to write on our template. Each student has a chance to participate in the center and fill out their template to put in their center folder. Each student has a center folder that they keep all of their templates inside. At the end of the month, they get to turn in all of these templates for bonus bucks! They LOVE it! Here are some pictures of my center templates. This is great for accountability piece and a purpose for learning and engagement. I tell my students that centers are not for play, but for learning. 


You can do these templates two ways since they're in color and black and white. You can laminate the colored ones and stick them in a plastic sleeve for your students to write on with EXPO markers, or copy the black and white ones to have your students put in their center folders. I like to copy them so I can see proof of what they did... its your preference. 

I also have "I CAN" cards at each center that I laminated on card stock, cut out and put on rings. When we learn about each center, I read the cards outloud many, many times so the students are familiar with them. These really help later on when the students go to the center and they forget what to do. It's so rewarding to see them reading the cards by themselves! Here are some examples: 


I also have a center checklist that I keep in the brads of their center folder. My students color in each center after they have completed a center page. This checklist gets turned in at the end of the month with all of their center pages. I give them one bonus buck for each center page completed. This helps keep my students engaged and not get off task and be silly. Plus, it helps with responsibility. Here is an example of my center folder: 


I'm really big about my students cleaning up their centers. I tell my students that this is their classroom and we need to keep it neat and organized. I give out bonus bucks for the best cleaned center at the end of the day. This really helps with accountability. After I've introduced all my centers it takes me about 25 days. Then, I'm ready for my students to take part in my center rotation. At the end of the day when we have finished our science/social studies seatwork, then they can go to their centers. I tell them they need to bring 4 things with them to their center:

1. Clipboard
2. Pencil
3. Center Folder
4. Whisper Voice

It is so rewarding for me to watch my students take part in my center rotation without a hitch... of course there will still be questions and they know to raise their hand at their center for help. I like to sit at my horseshoe table and wait for questions. I DO NOT do my guided reading groups during this time... that's during Reader's Workshop. I like to just focus on my centers...it keeps me sane that way and not having to worry about reading groups too. 

Here are pictures of my 24 centers...enjoy! 


Theme Center: Includes vocabulary cards, games, puzzles, mentor texts, center templates, I CAN cards, models, and puppets for science/social studies. I switch this center out every two weeks according to my thematic unit. This one is my favorite!
If you would like to see a video of my theme center, click here
Word Wall: this is at eye level so the students can take off  their sight words and write them on their center template in alphabetical order. If you're interested in my word wall resource click here


Word Work Center: Vowel Games, Center Template, I CAN cards, ABC books, Popcorn Word Game, Word Muncher, Magnetic Letters, Rhyming Puzzle, Matching Letters and Sounds, Secret Stories, Word Family Flip Cards and Dice.


Writing Center: Center Templates, I CAN cards, Mr. Spaceman, Stickers, Writing templates, Blank Tiny Moment Stories, Mailbox for Letters and Cards, Crayons, Scissors, Markers, Divided Tray with Student Pictures. If you would like to see a video of my writing center, click here 
If you would like to check out my writing center resource, here

Research Center: Center Template, I CAN cards, and Research Books.


      Read and Write the Room: Center Templates, I CAN cards,              Pointers, Whispy Phones, and colored glasses. 

Museum Center: Center Template, I CAN cards, fishbowl with fish, magnifying glasses, models of butterflies, bees, chrysalis, pinecones, rocks, bird nests, shark teeth, skulls of goats, locusts and much more to observe. 
Art Center: center template, I CAN cards, markers, crayons, colored paper, decorative scissors, drawing books, beads, sequence, buttons, glitter, paint and art easel...anything artsy to decorate their template. 
Computer/ IPAD Center: Center Templates, I CAN cards, Decorative Borders around the computer, Games and Apps.


Library Center: Center Templates, I CAN cards, book buddies, carpet, benches, book organized by level, genre and holiday. If you would like to check out my reading genre poster resource, click here

Poetry Center: Center Templates, I CAN cards, Focus Poem, Parts of Speech Cards, Punctuation Cards, Pointers, Nursery Rhyme Books, Poetry Books. If you're interested in my poetry center resource, click here
Big Books: Center Templates, I CAN cards, and Big Books.


Science Center: Center Templates, I CAN cards, posters of the scientific method, Tubs of science manipulatives: plastic animals, insects, dinosaurs, magnets, magnifying glasses, models, stuffed animals, habitat pictures and science books.


Finger Puppets: Center Template, I CAN cards, bird puppets, children around the world puppets, Dr. Seuss puppets, puppet glove and story puppets.
Construction Center: Center Template, I CAN cards, gears and levers, building blogs, and Legos.

Geography Center: Center Templates, I CAN cards, children around the world, books about continents, tubs of items from different countries, maps, globes, hour glass, trinkets, continents puzzle.

Felt Board: Center Templates, I CAN cards, Felt Boards, tubs of felt board stories: Hungry Caterpillar, Elmer, Quick as a Cricket, Silly Sally, Brown Bear, Polar Bear, Old Lady Who Swallowed a Fly. 


Math Center: Center Template, I CAN cards, Math Tubs, Math Manipulatives, clock, scale, flash cards, math literature, math games. If you're interested in a back to school math game, click here
Drama Center: Center Template, I CAN cards, Puppets, Puppet Theater.
Author Study: Center Template, I CAN cards, posters of author, posters of books, mentor texts, and book buddies. If you're interested in my author study resource for Kevin Henkes, click here
Calendar: Center Templates, I CAN cards, Calendar Review: tallies, counting money, weather, place value, days of week, months of year, continents, states, clock, money poems, how many days of school, seasons and temperature.
Overhead Center: Center Template, I CAN cards, overhead maniluplatives: coins, cards, family, numbers, alphabet...
Game Center: Center Template, I CAN cards, Board Games, small picnic table.
Here are some pics of my students in their centers:


And there you have it! I hope you got some great ideas about launching your literacy centers for the new school year. If you're interested in checking out my resource about how to launch your literacy centers, click here

Happy Teaching!
Love,
Kara