Welcome to Mrs. Rickman's Farmhouse!!!


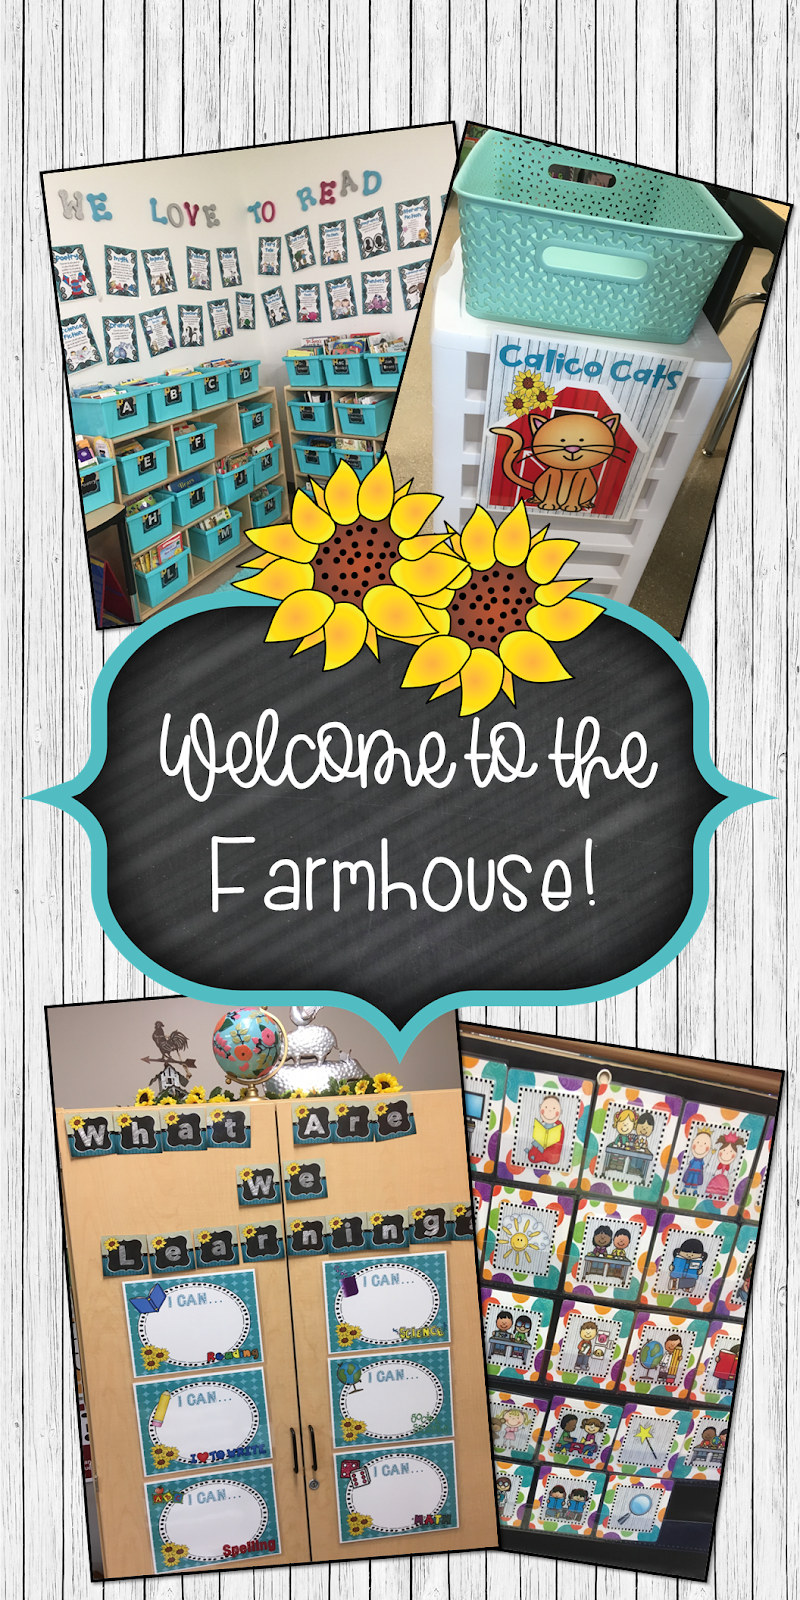
If you've ever wanted to have a Farmhouse theme in your classroom check out this blog post! You can have a fun and calming Farmhouse theme using teal and sunflowers and your students will LOVE it! Keep reading if you want to know more about how I set up my farmhouse classroom.
I picked a farmhouse theme with teal and sunflowers because I really love how it looks and I enjoy all the farm animals and colors. At the beginning of the year I read some farm mentor texts to kick off the farmhouse theme and we make a bulletin board farm. We read The Big Red Barn and then each student picks a farm animal to make out of construction paper squares. Here's how it turned out. I think it turned out pretty cute!
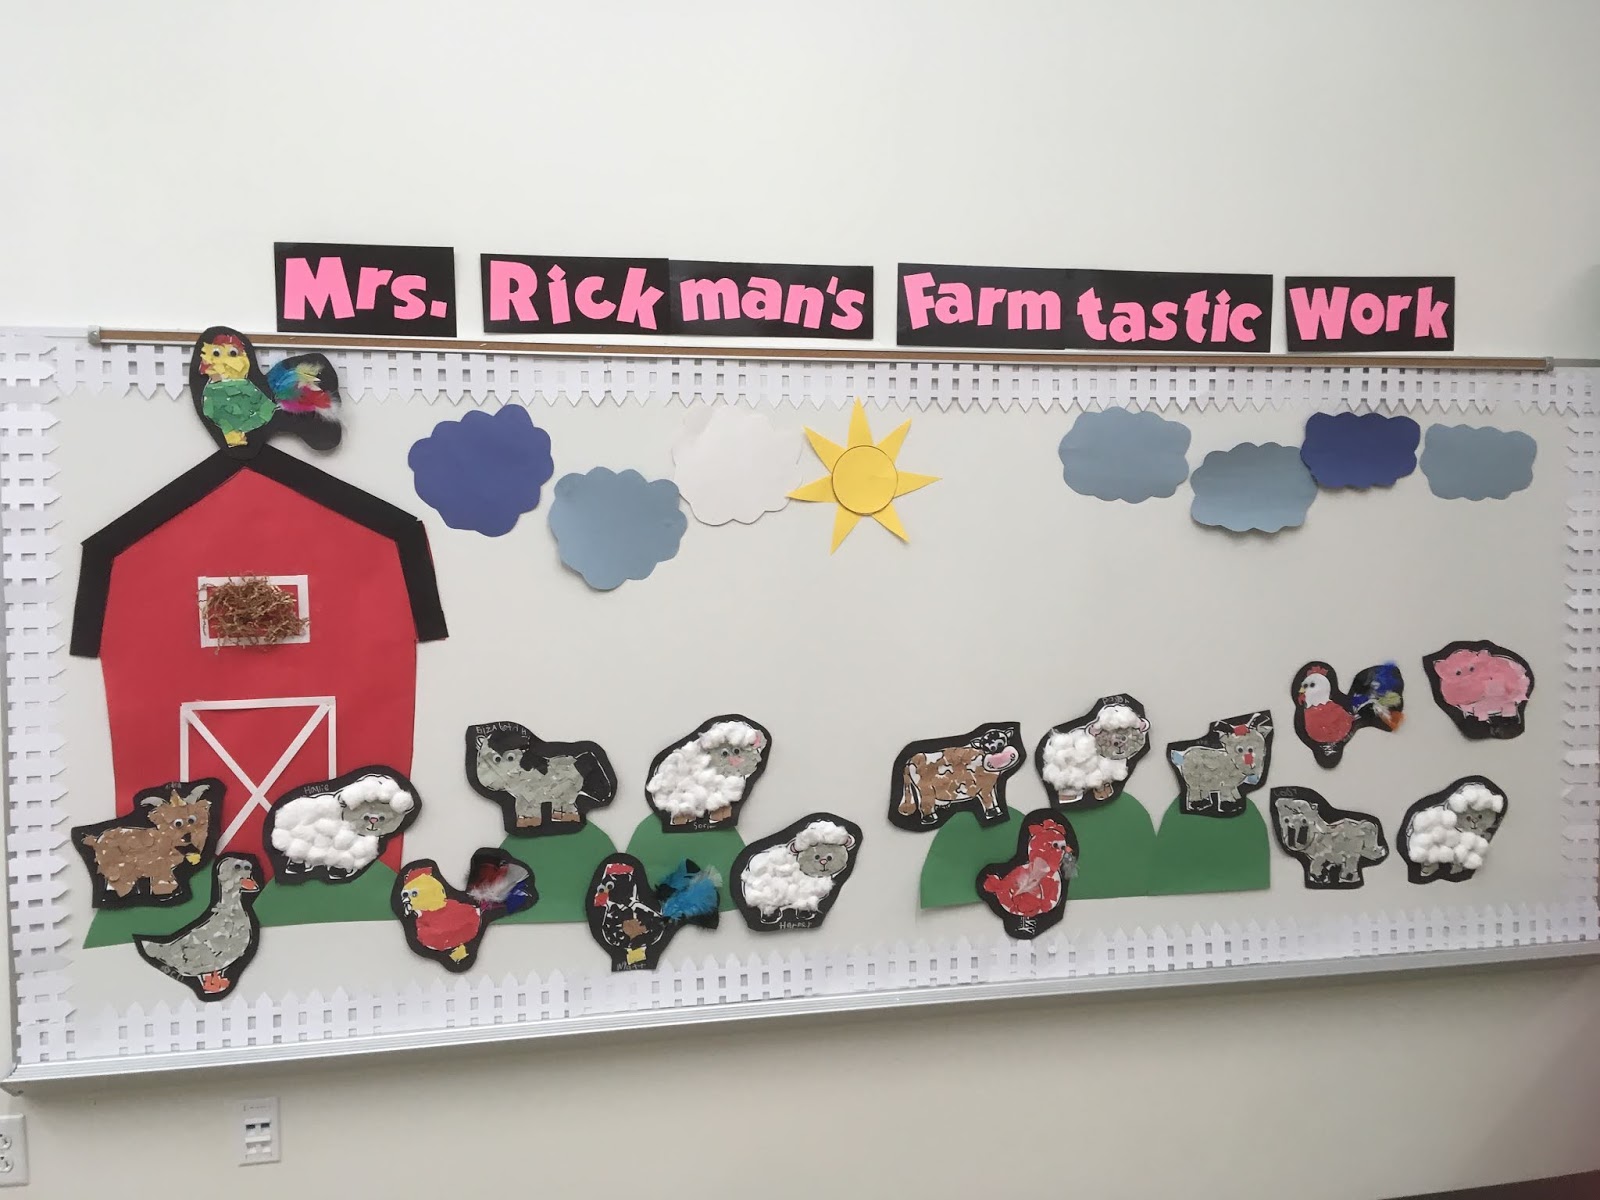
If you're interested in checking out my resource for The Big Red Barn, click here. It includes the animals that you see in the picture, plus interactive notebooks, vocabulary cards, writing templates and more!
As you look into my window of my room, I have a banner with Mrs. Rickman's Roost. I also bought all of my Farmhouse decor from Hobby Lobby.
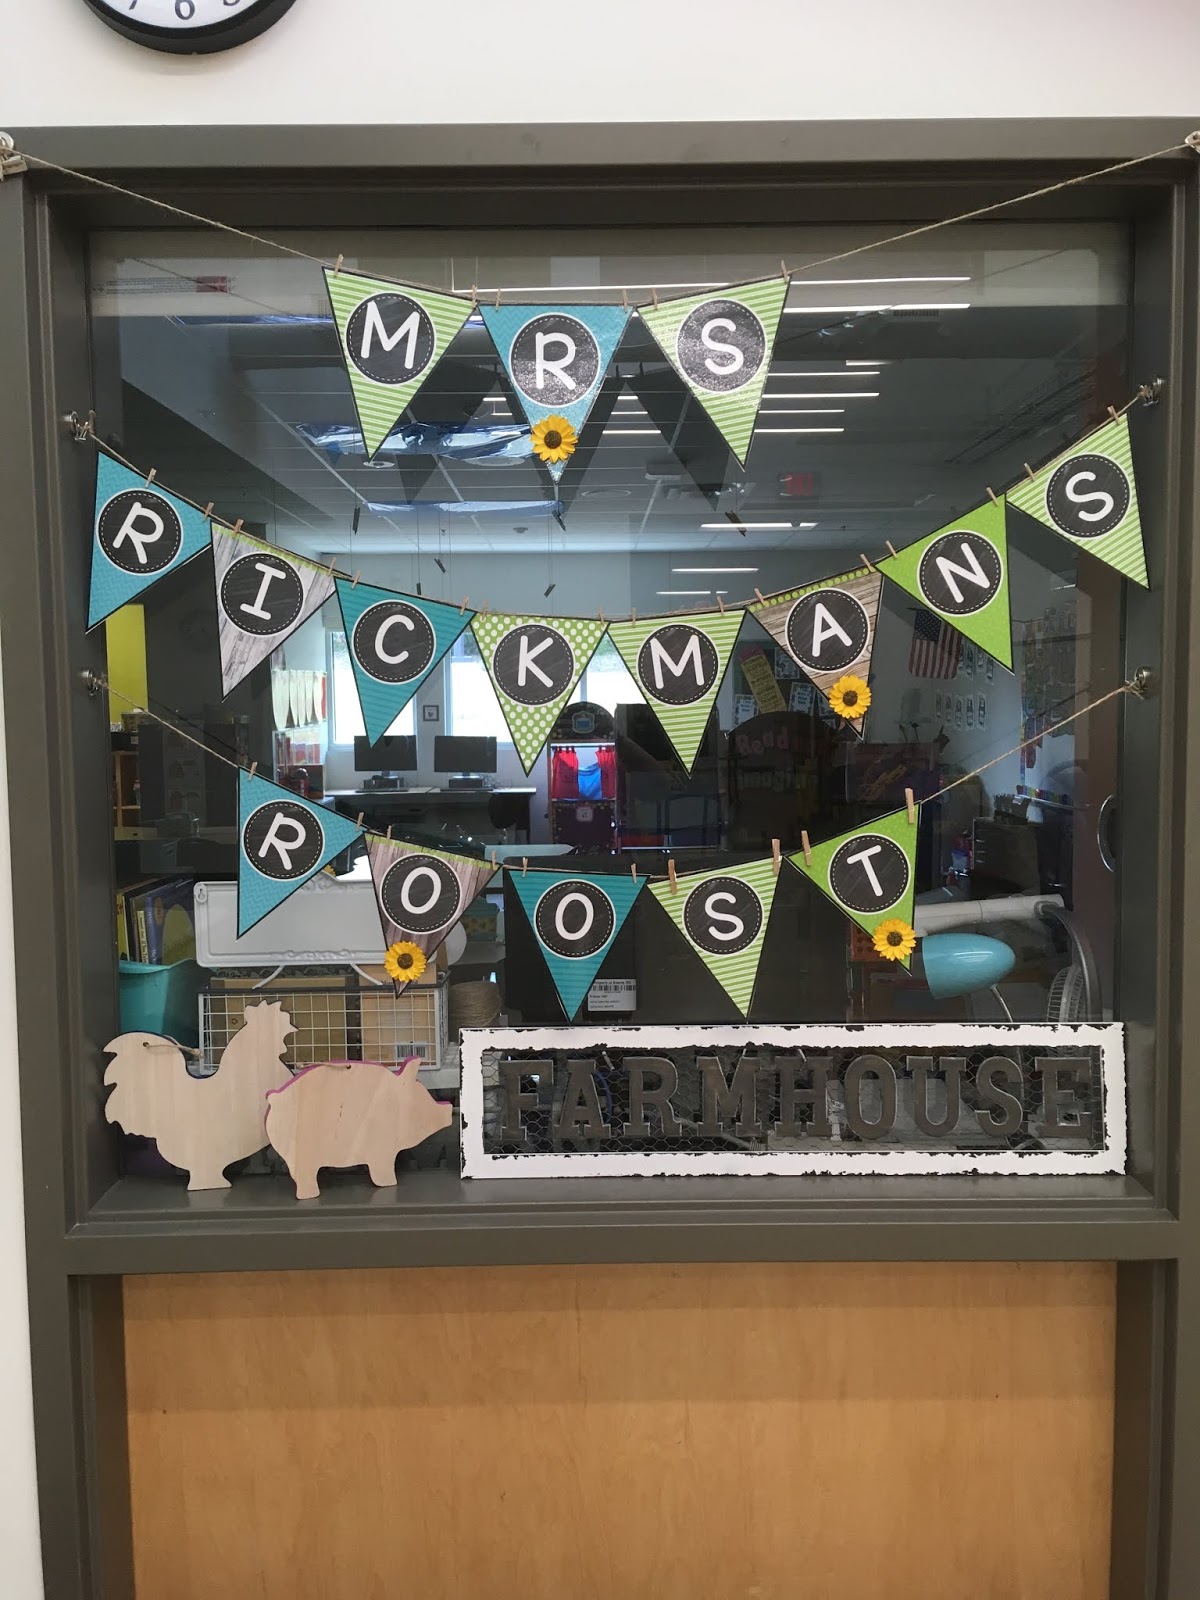
Isn't it adorable? It was so fun to put together. I hot glued small sunflowers onto the banner after laminating the parts.
Here is the sunflower wreath that hangs on my door. I bought all the ribbon and flowers from Wal-Mart, then took all the materials to our local flower shop to assemble. I painted the "R" teal with yellow polk-a-dots. So fun!

When you walk into my classroom, you will see my "I CAN" posters for each subject. This is where I write what we are learning for the week.
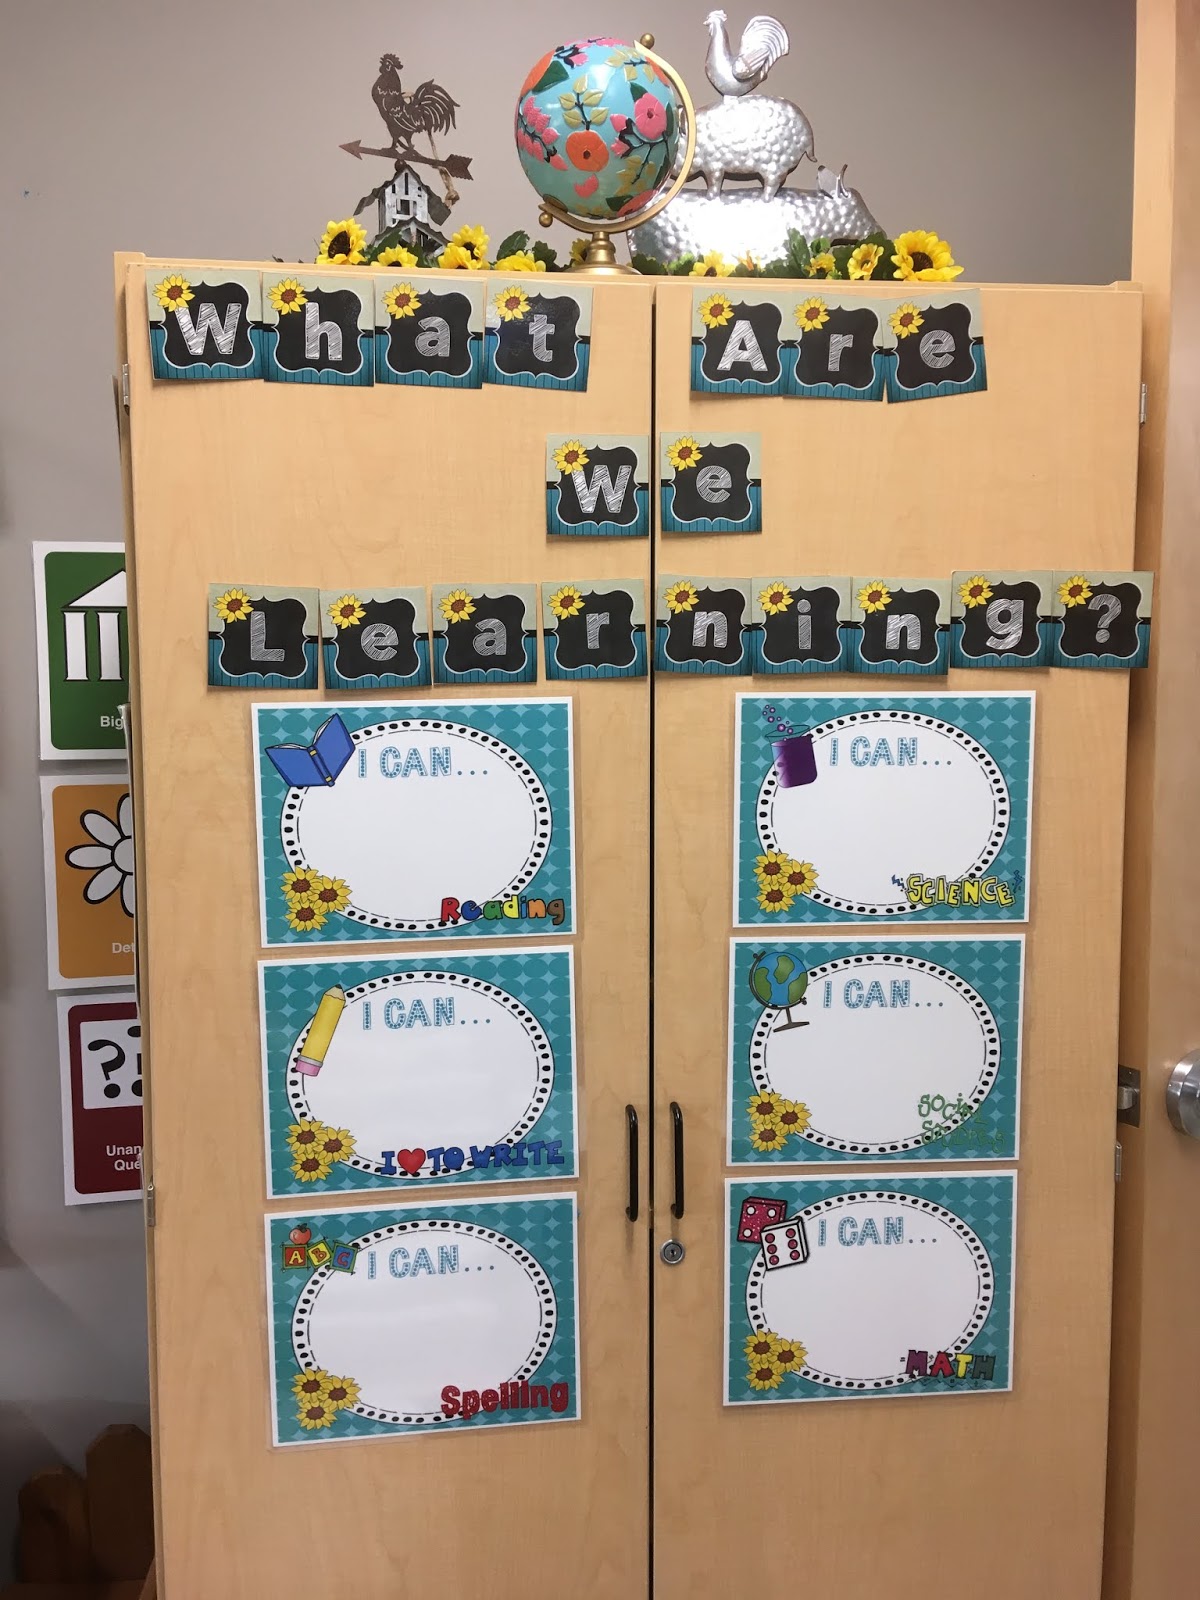
If you are interested in these "I CAN" posters, click here
I have them in reading, writing, math, science, social studies, spelling and health. I also have the sign "What Are We Learning" included in the resource. I laminate them and then I write on them with an EXPO marker each week.
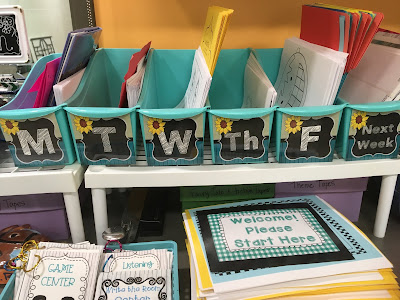
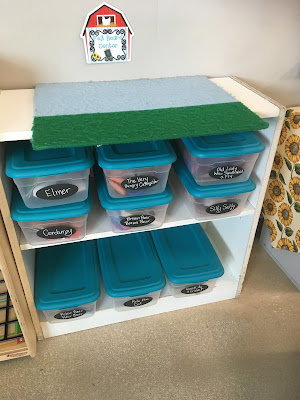
Of course, you have to be organized with your materials and supplies for the week! Here is how I organize my materials. Each tub has the mentor texts, examples from previous years, templates and lesson plans. You have make sure everything is in place!
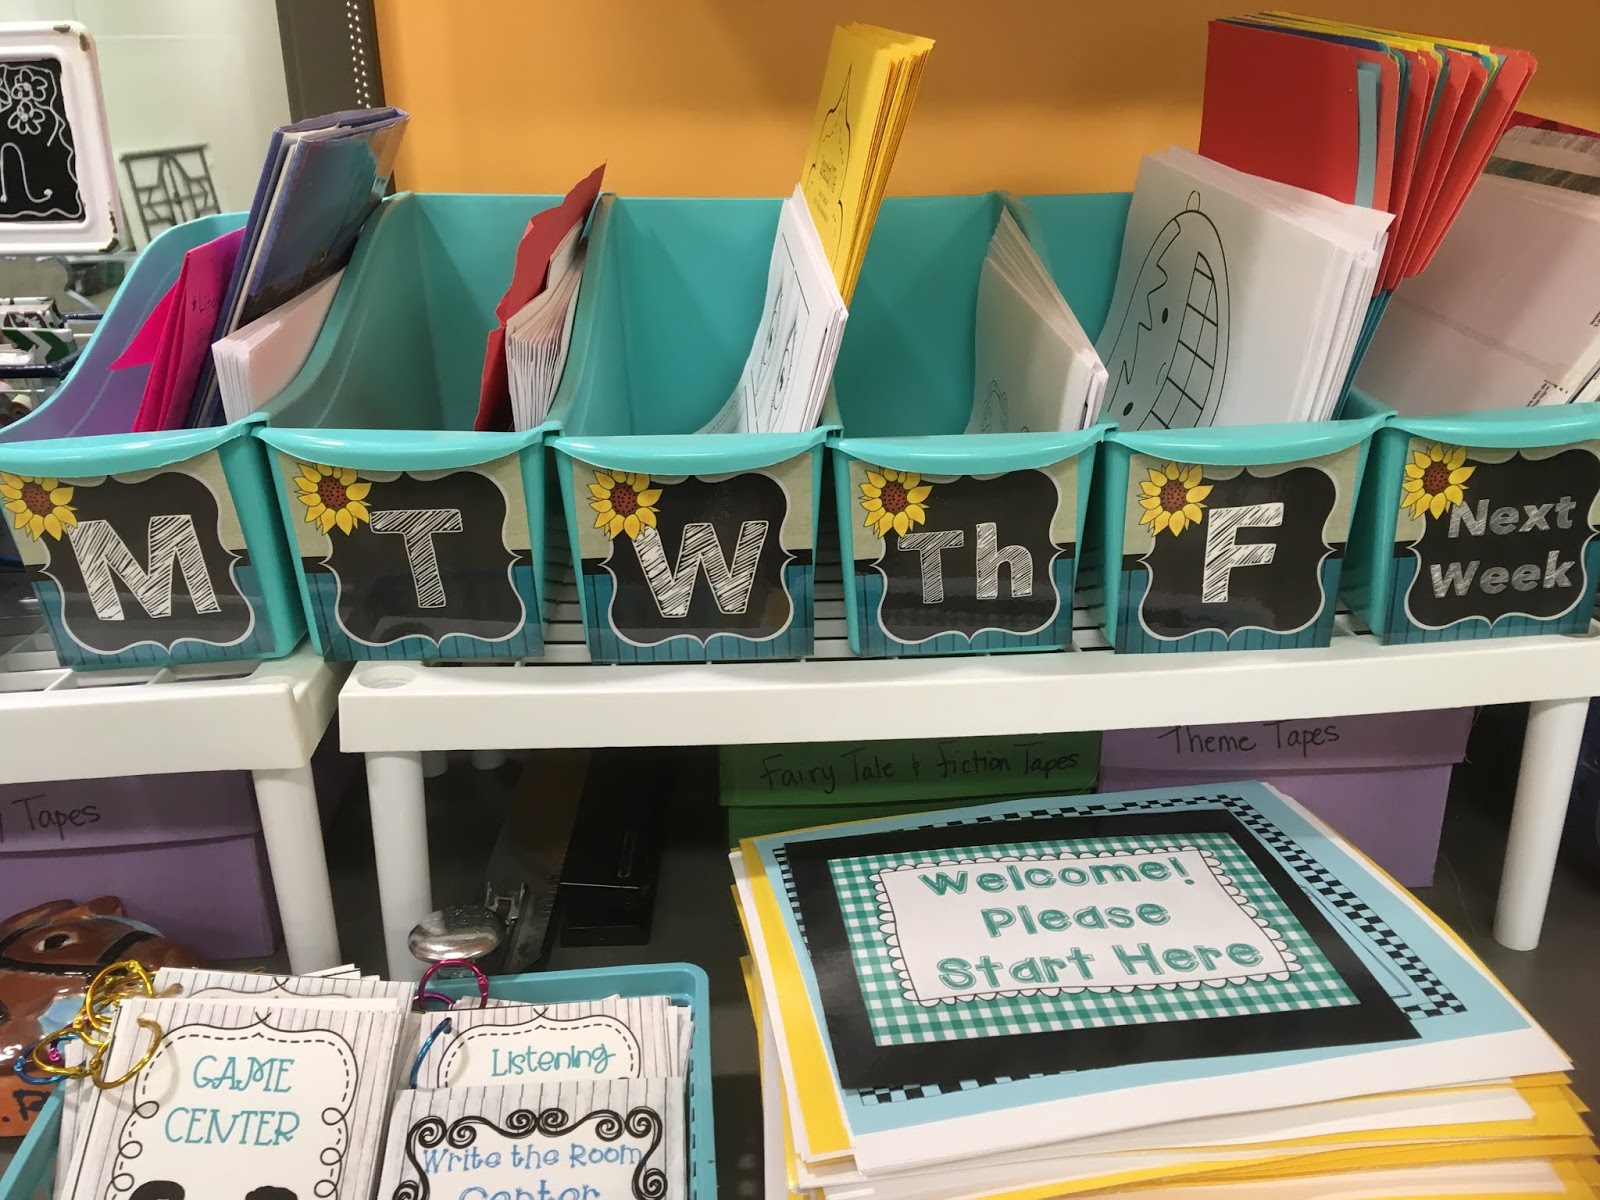
If you're interested in my labels for days of the week, click here.
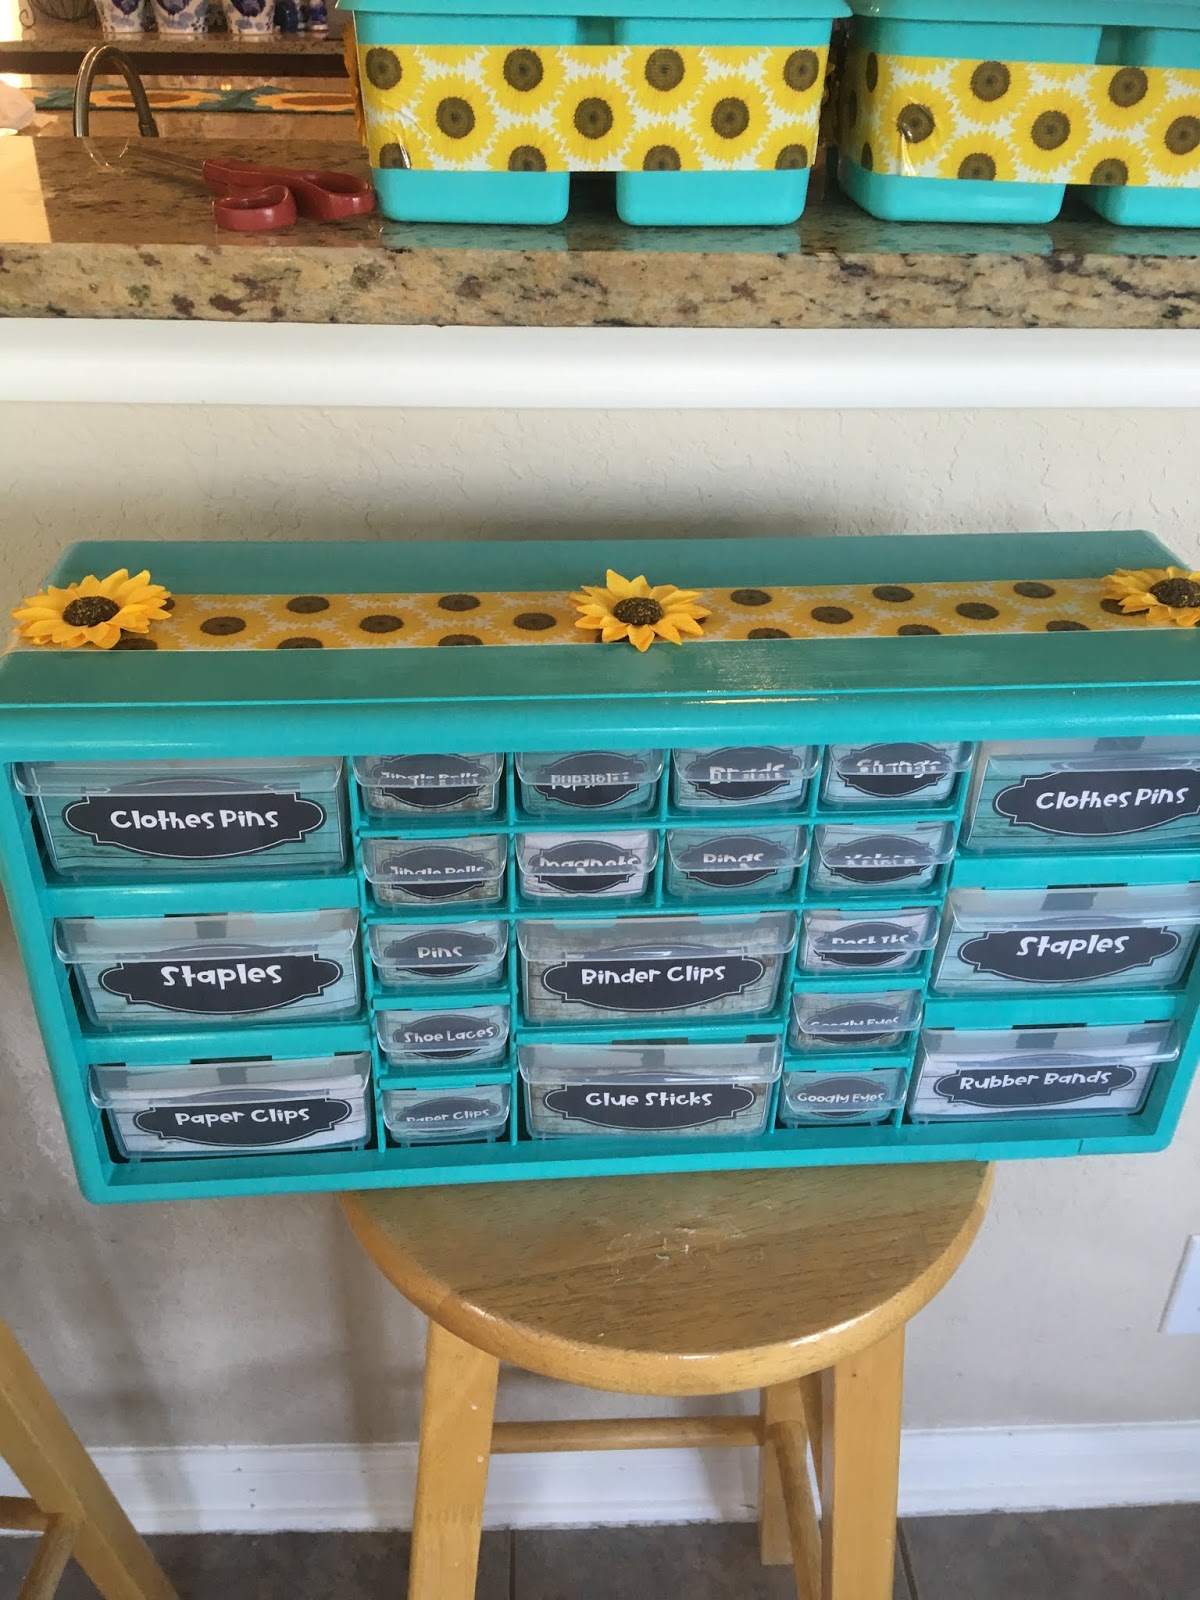
I also have a handy dandy toolbox. I spray painted it teal and put duct tape and sunflowers on it. I got the labels from TPT. I absolutely LOVE it! I would never teach with out one!
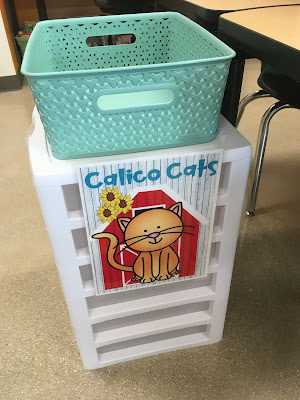
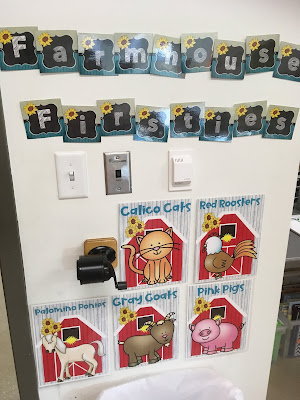
Let's talk about behavior management. To stick with the theme of Farmhouse, I made each table group an animal: Calico Cats, Palomino Ponies, Red Roosters, Grey Goats, and Pink Pigs. Each table has drawers with a teal basket on the top to turn in their work. They also have the animal poster on the side of their drawers.

I also have a sign on my wall that says Farmhouse Firsties. These are the posters for the table points for our Farm contest through out the day.

Here is my clip chart. It is also Farmhouse themed. Every student has a magnet with their number on it. They all start out on green every day and can either move up or move down.

If you're interested in my behavior clip chart, click here.
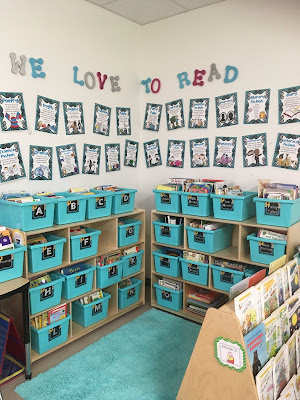
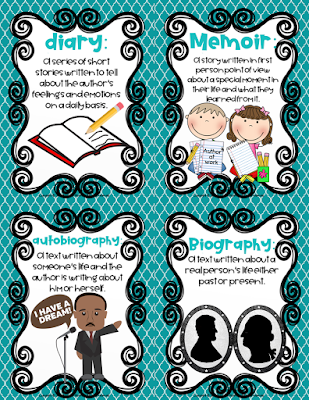
Now- on to my library. I bought teal classroom bins from Wal-Mart and organized my library by levels and by genre. I also have genre posters above my library that I use to teach each genre through out the year. I also bought the foam letters and teal rug from Wal-Mart to make "We Love to Read".

Here are some of the genre posters up close:
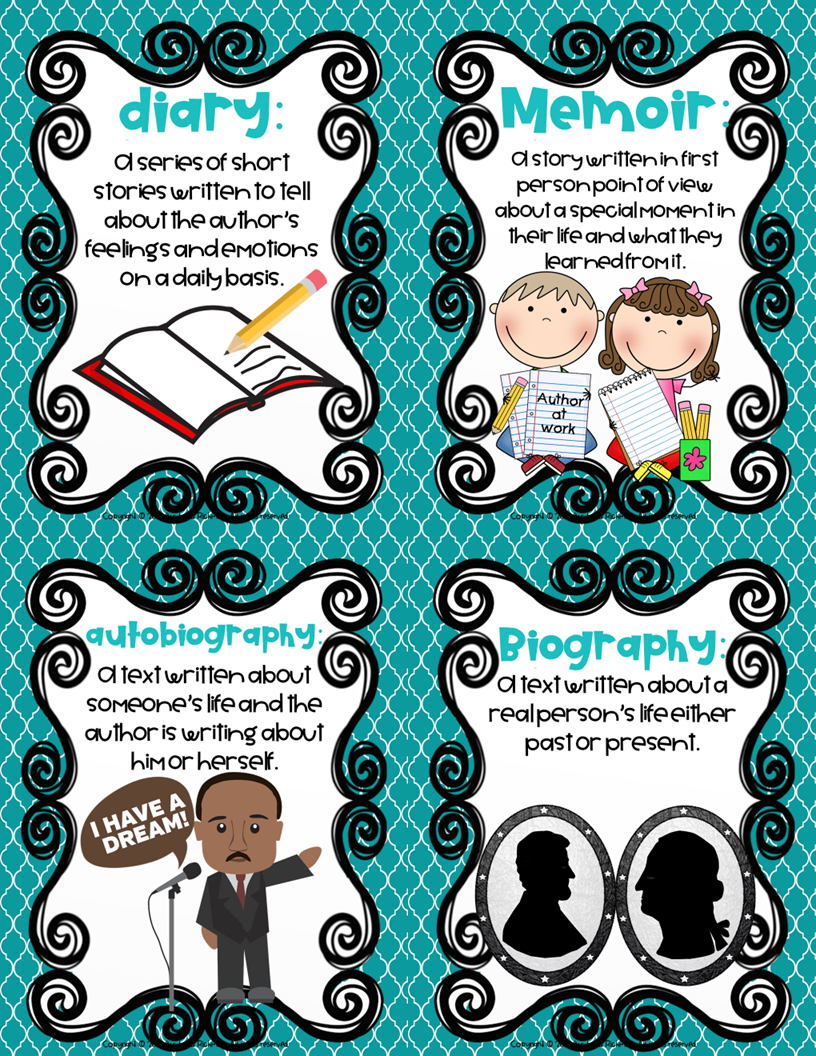
If you are interested in checking out my genre posters click here
I also laminated them and stuck them on my wall with ticky-tack. I pull them down one at a time and put them on my pocket chart to help my students understand each genre, then I put them back up on the wall. On each tub is a label for A-Z and for each genre.
If you're interested in checking out my library labels, click here. They will fit any tub or basket, just print and laminate!
Here are some labels: A-Z, Fiction, Realistic Fiction, Historical Fiction, Science Fiction, Non-Fiction, Poetry, ABC Books, Animal Books, Class Hospital, Dictionaries, Favorite Authors, Math, Science, Jan Brett, Kevin Henkes...and much much more!
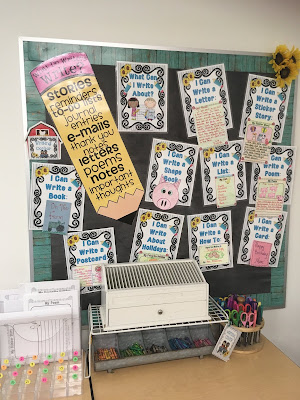
Here's my writing center. It has "I CAN" posters for:
Writing a Sticker Story
Writing a Postcard
Writing a Letter
Writing a Story
Writing a List
Writing a Book
Writing a Shape Book
Writing a Recipe
Writing a How To
Writing My Favorite Holiday
Writing My Favorite Letter
Writing a Card
Writing a Poem
The Big Pencil I found on Pinterest.

Here are some of the writing templates for the center:


In this center, I have my crayons in a tin container from Wal-Mart, different shaped scissors, a clear plastic organizer for templates, a clear plastic divider for student pictures, "I CAN" cards, and of course the white organizer you see is for the students to use as a holding place if they are not finished with their activity. If you are interested in checking out my resource for my writing center, click here . My students LOVE this writing center and it keeps them busy and engaged.
Now, let's move on to my Alphabet Posters and Reading Strategy Posters. I have both of these up on my wall above my guided reading table for easy reference during small group instruction.
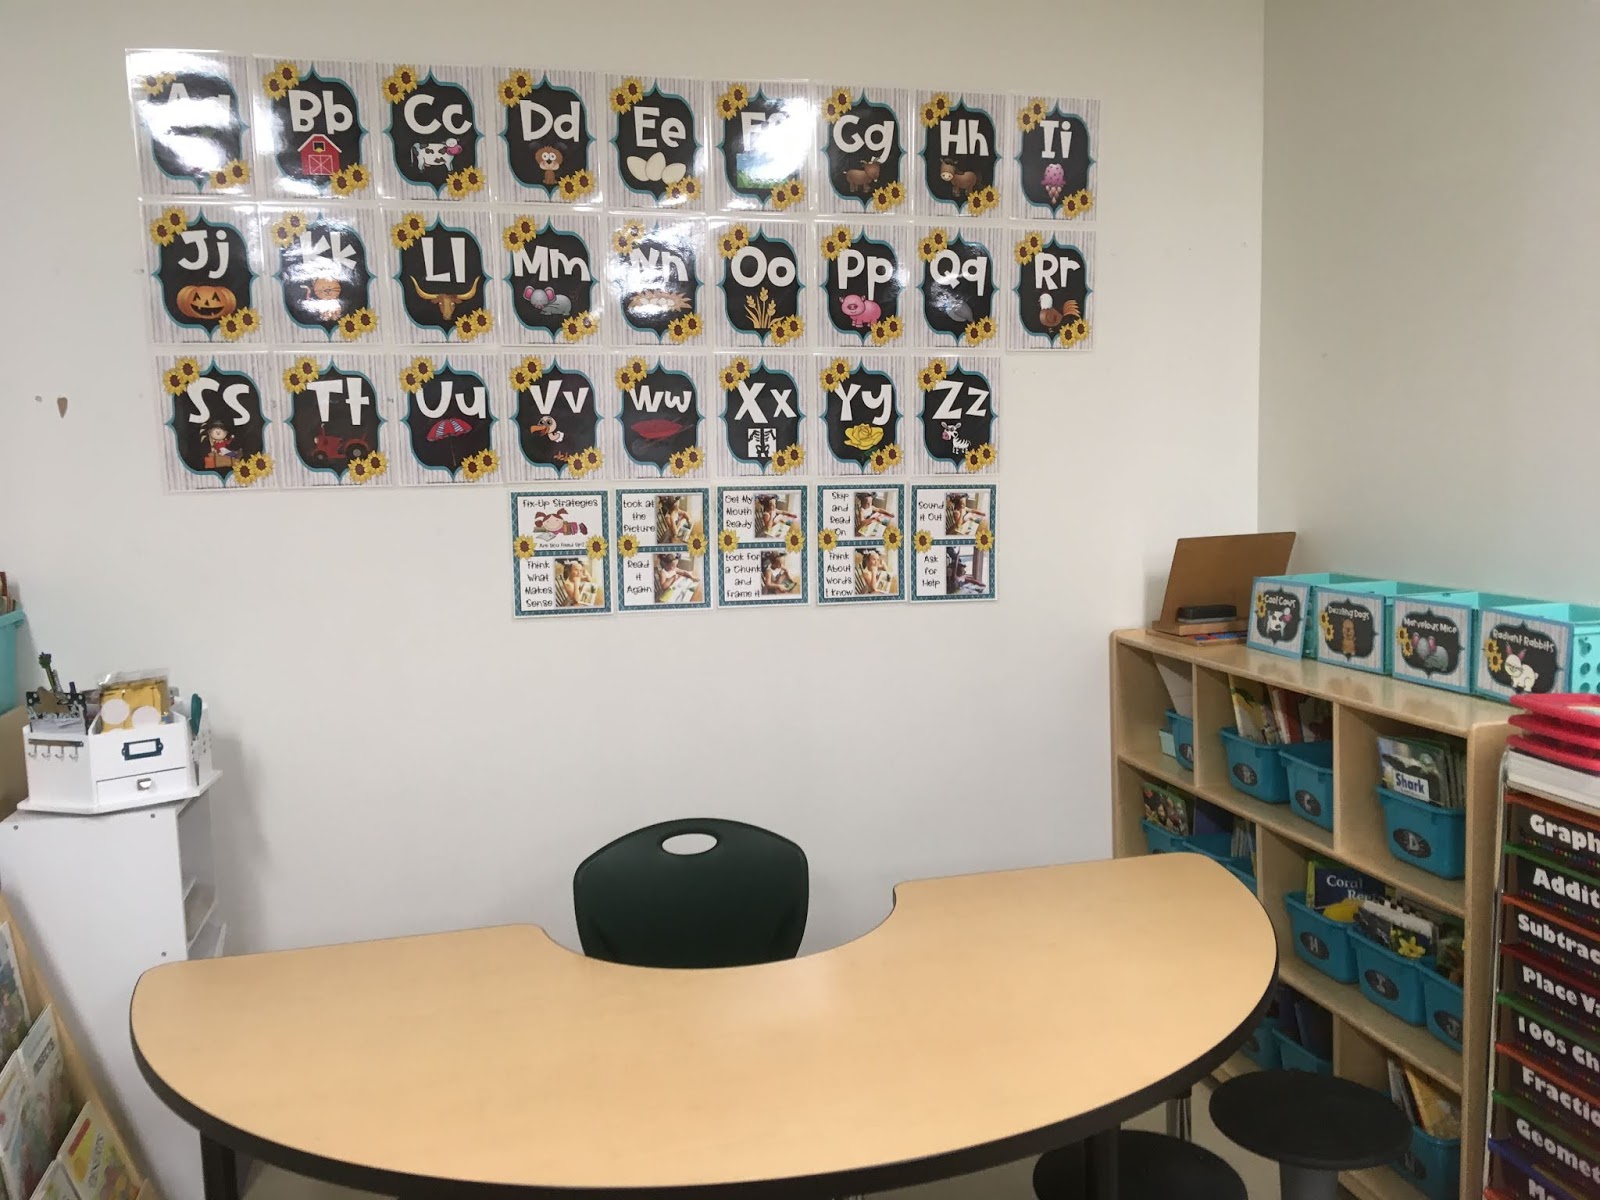
If you look to the left side, you will see a small white carousel caddie. This is where I keep all of my guided reading, guided math and writer's workshop supplies and materials. I love it! I bought it from Michaels. On the right hand side you will see my guided reading baskets and leveled book sets. If you are interested in my alphabet cards, click here.
I also have my reading strategy posters behind my table, so my students can reference their strategies during guided reading. Here's what they look like up close:

If you are interested in my reading strategy posters, click here.
Here is my author's chair. I have a teal pillow and the words "Read and Imagine". This is where I do most of my teaching for my mini-lessons. I also have my easel and pocket chart to the left and big book stand with my anchor charts on the right. You can also see my center pocket chart below the big book stand.

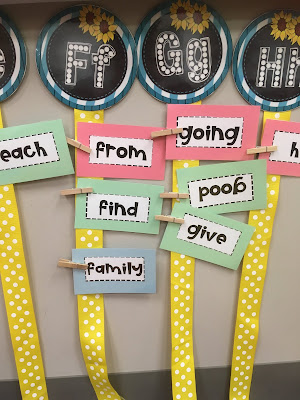
Here is my word wall. It is below my smartboard to make it more interactive for the students at eye level. I used yellow ribbon to cut about 11/2 length for each letter to hang the words on.

Here is a close up of some of my letters with the sight words.

My word wall is interactive in that the students can easily take the words off with the clothespins. You can see here in the picture because the word "good" is upside down. We add 5 new words a week and write them in our word wall folder. We read each word, spell each word and scoop it. Then we put the words onto the ribbons. This is also one of my literacy centers in that the students have a template that they write 5 words in alphabetical order. If you're interested in my word wall resource, click here .
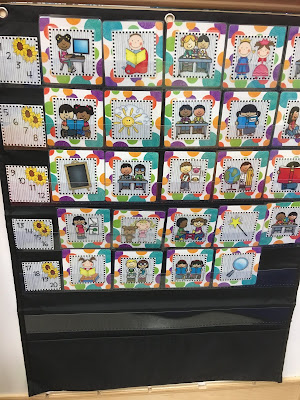
I also have 20 other centers in my classroom. They are also farmhouse themed with the center icon matching the icon on my pocket chart. Here is a picture of how I organize my center icons. On the left side you can see the numbers of the students on the right side are the centers that they can choose from for the whole week. Then, every Monday I rotate the cards. Each center has a template that the students need to complete for accountability.

At each center, I have an icon that matches the icon on the center chart. This helps my students find their center easier.

Here is an example of a center template with the "I CAN" cards.

If you're interested in checking out my center resource with these icons, templates and "I CAN" cards, click here.
Here some of the centers that I have:
Library - pictured above.
Writing- pictured above.
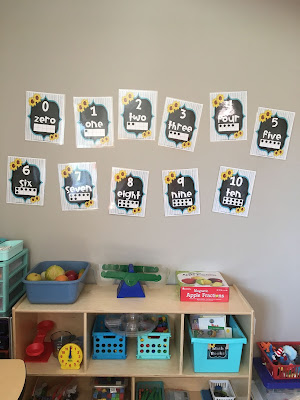
Math

If you're interested in my number posters, click here.
Theme

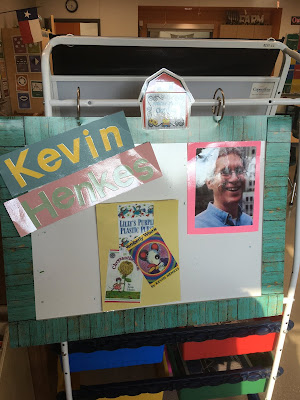
Author Study

If you're interested in my author study for Kevin Henkes,
click here .
Geography

Felt Board

Construction/STEM

Poetry

Word Work

Calendar

Finger Puppets

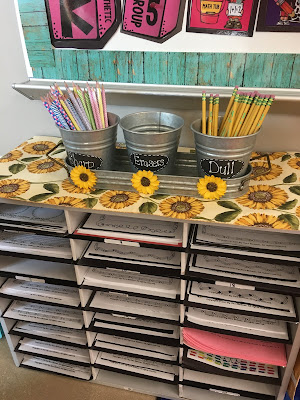
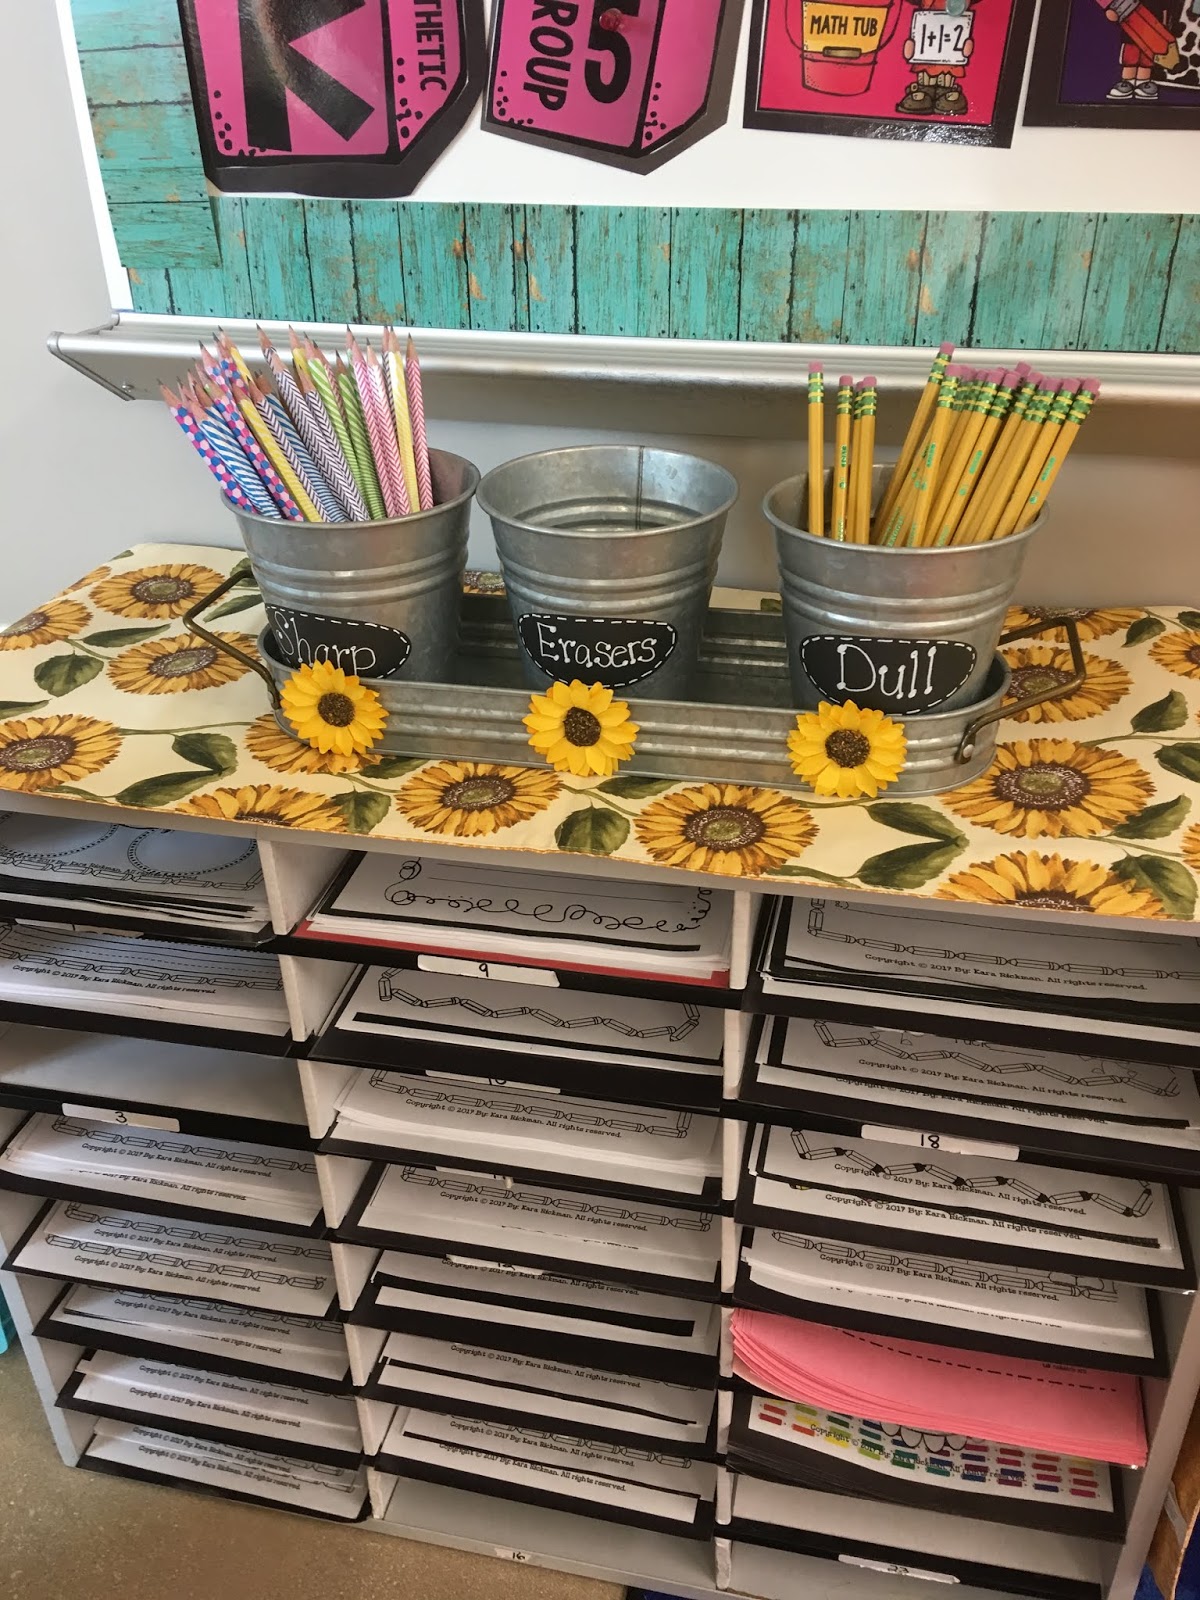
This is how I keep my pencils. I bought these cute tins from Wal-Mart and labeled them with chalkboard labels and a white paint pen. I also hot glued small sunflowers on the front of it.
The students put their dull pencil in first in order to get a new pencil. In the middle I put erasers for the students to use.
And...there you have it!
If you are interested in my Farmhouse Decor BUNDLE....click here. This bundle has ALL of the farmhouse posters and activities that you just saw in the pictures above. I hope you classroom is beautiful and full of fun! Enjoy!
Love, Kara